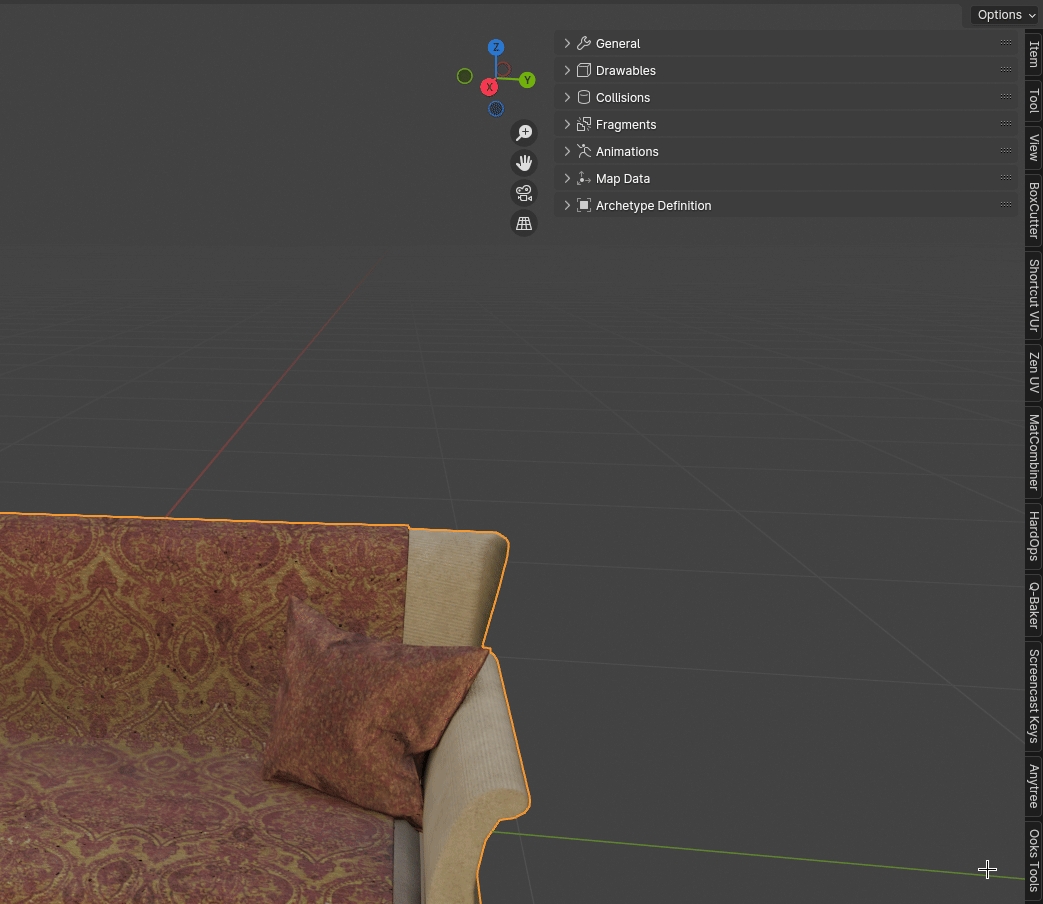
Game meshes are stored in the Drawable (.ydr) file format. Creating Drawables in Sollumz is very simple. This tutorial will walk you through step-by-step.
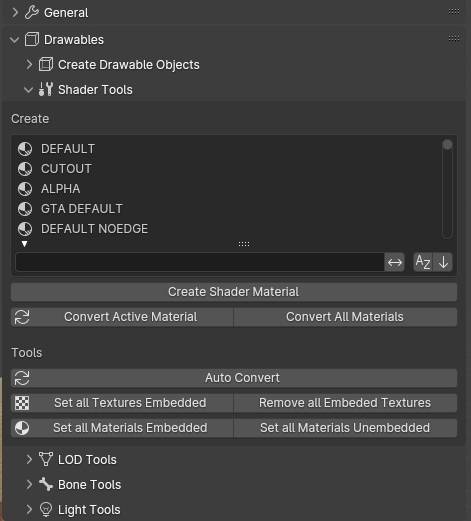
The first thing to do is convert your object(s) to a Drawable. Select all the objects and click Convert to Drawable in Sollumz Tools > Drawables > Create Drawable Objects.
You will notice in your Scene Collection top right, that your object has changed a little. It is now in the correct hierarchy / format for GTA V.
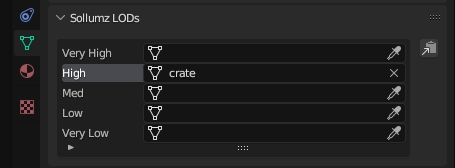
If you navigate to Mesh Properties > Sollumz LODs with the drawable model selected, you'll also notice that the active mesh is automatically assigned to the "High" LOD level. This panel is where you can assign other meshes as LODs. More info on that here. For the sake of this tutorial, we will only be setting the High LOD level.
For your textures and materials to work correctly inside of GTA V, you will need to use 'Sollumz Shaders'. these are simply materials that are set up correctly for use with GTA V assets.
To get started, within the Sollumz Tools found in the Toolbar, navigate to Drawables -> Shader Tools
Here you can find a list of all usable shaders within GTA V. you will quickly notice just how many shaders there are, and you might be intimidated by the amount, but around 80-90% of these shaders are not used frequently or at all for props.
Next, we will need to decide which shader is right for our asset. some key things to keep in mind when deciding which shader to use are:
Does my asset utilize a normal map?
Does my asset utilize a specular map?
Do my textures contain an alpha channel?
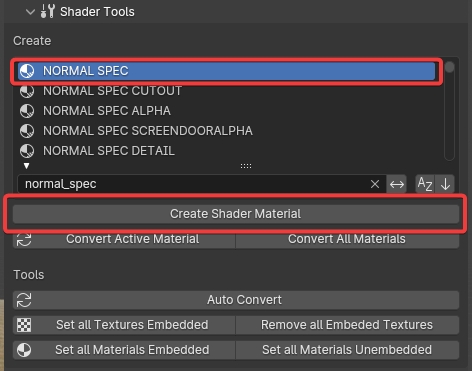
for this example, the asset uses a normal and specular map, but no alpha. so for this shader we will use "normal spec".
So now that we have decided which shader we will be using, we can now go ahead and create the shader. To do so, you can either press CTRL + F within the shader list and search for "normal_spec", or you can scroll manually.
Once you have located the shader, select it by clicking it. it should now be highlighted. next, select your prop model, and click the "Create Shader Material" button.
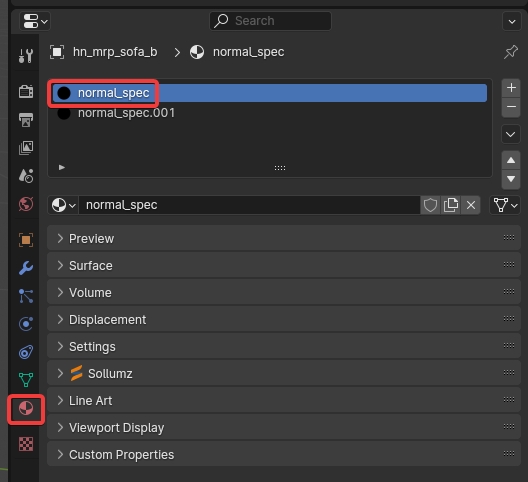
If you now navigate to the Material tab on the bottom right panel with your prop model selected, you will see your newly created shader.
another thing you will notice is the "Sollumz" tab within the Material tab. Within this Sollumz tab is where you will be controlling everything related to this specific shader.
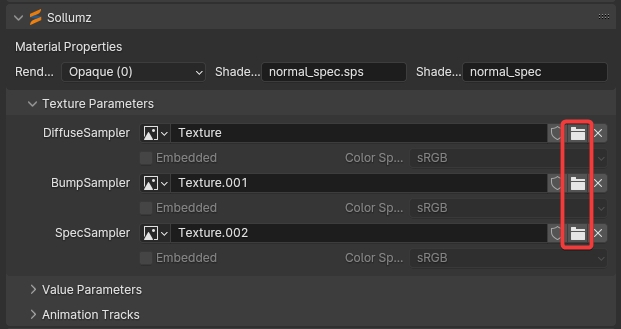
If you expand the Texture Parameters panel, you will see the 3 different texture slots:
DiffuseSampler (Diffuse / Colour map)
BumpSampler (Normal / Bump map)
SpecSampler (Specular Map)
you can go ahead and click the folder icon on the right to open up the file explorer window and select the corresponding textures for each.
Once you apply each texture, ensure the BumpSampler Color Space is set to "non-Color" otherwise it will look incorrect within blender, but will be fine when you export.
Props are simply just entities or models that can be reused and placed multiple times to detail an area or scene.

