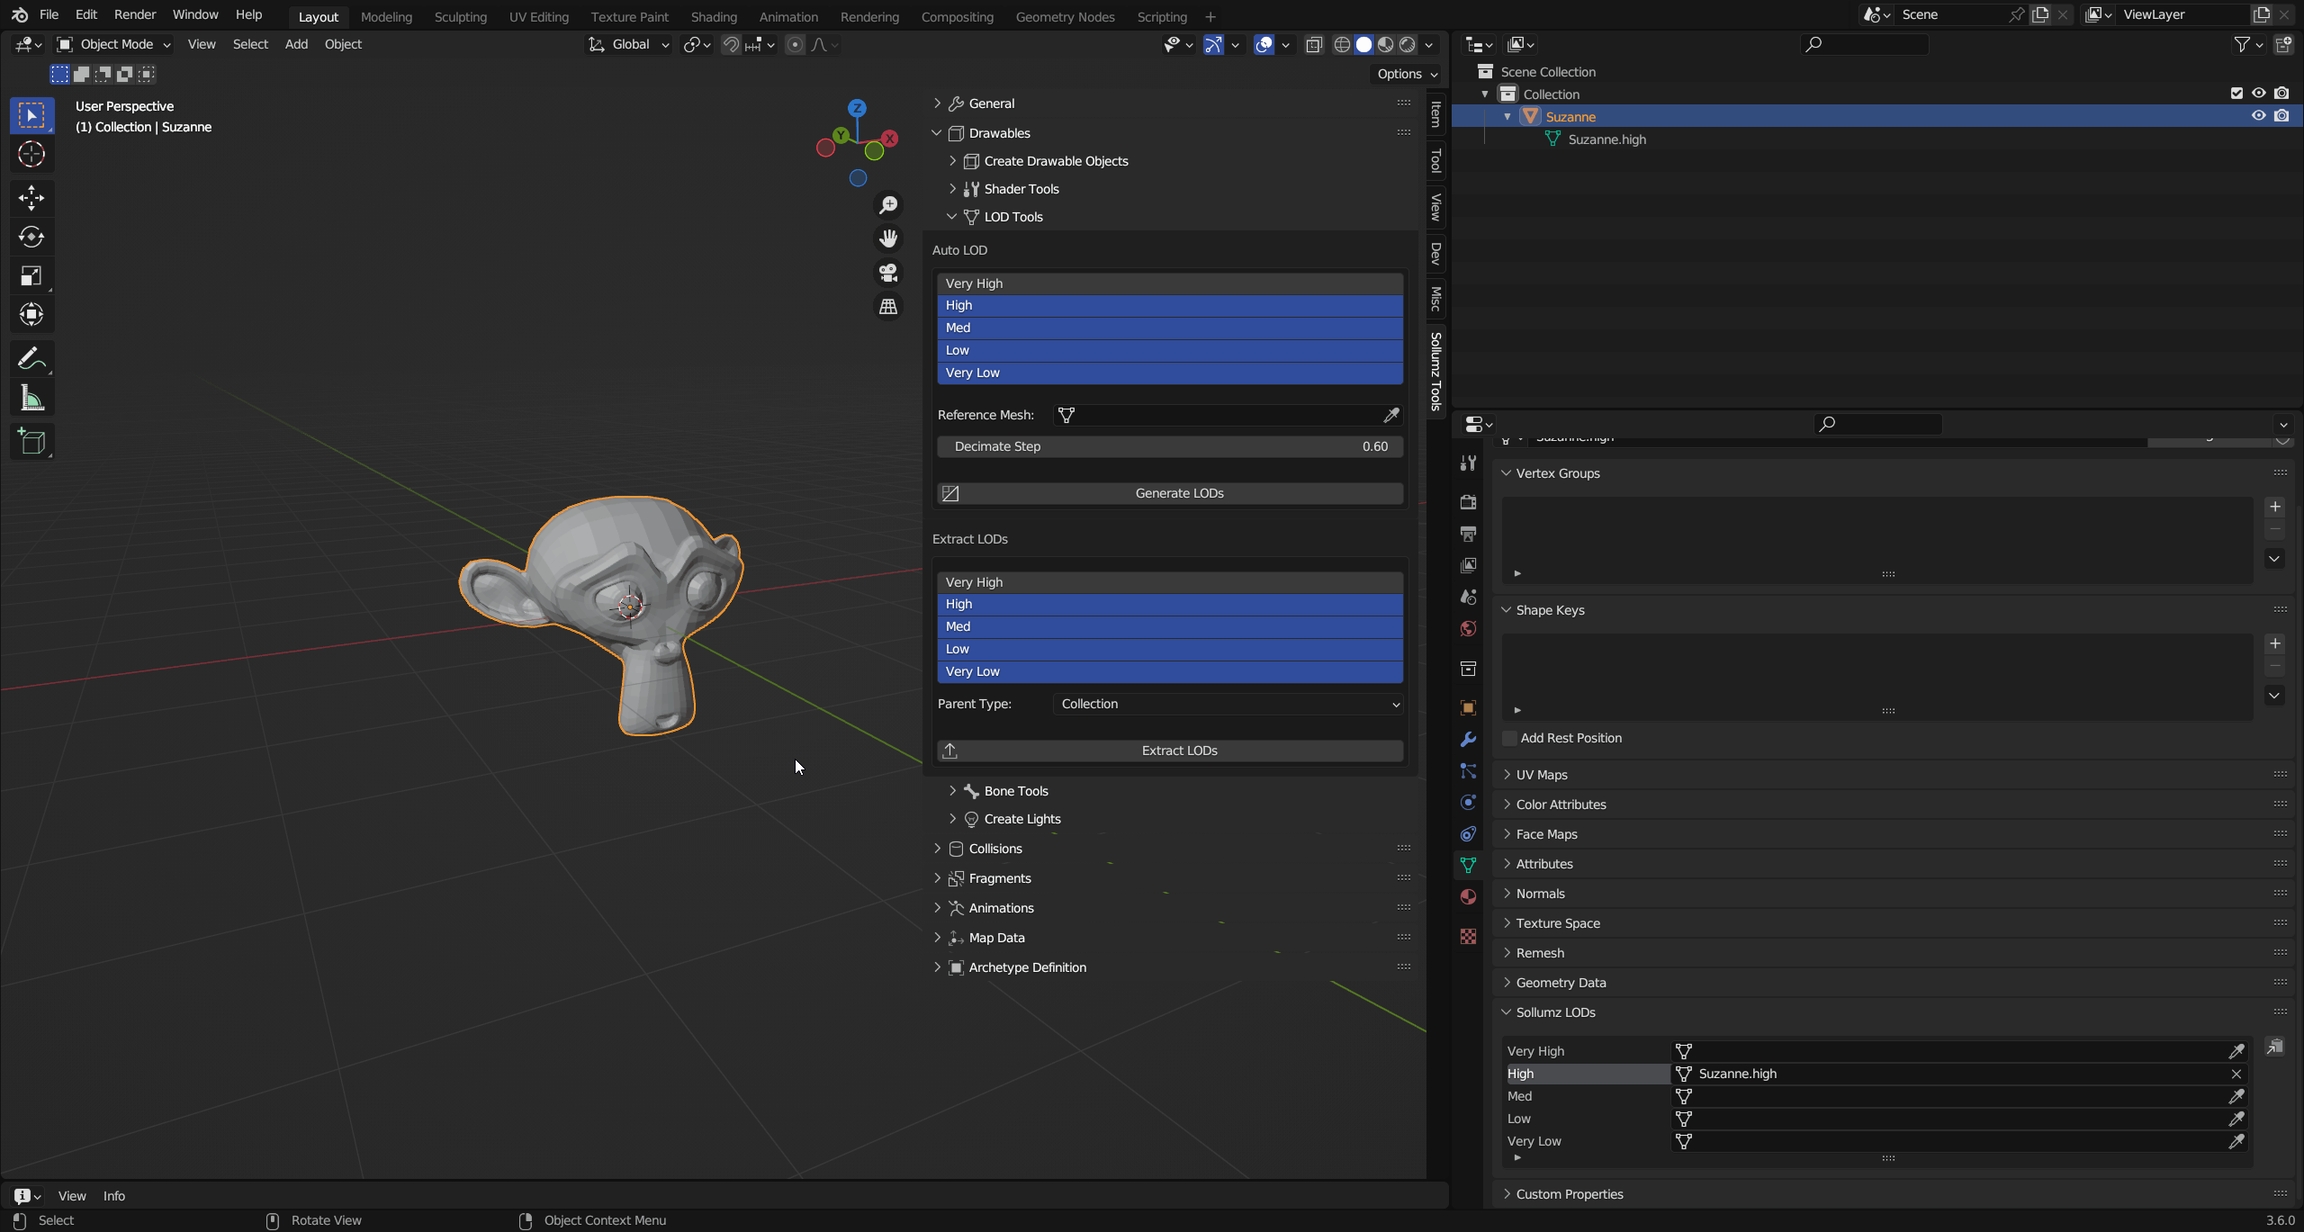
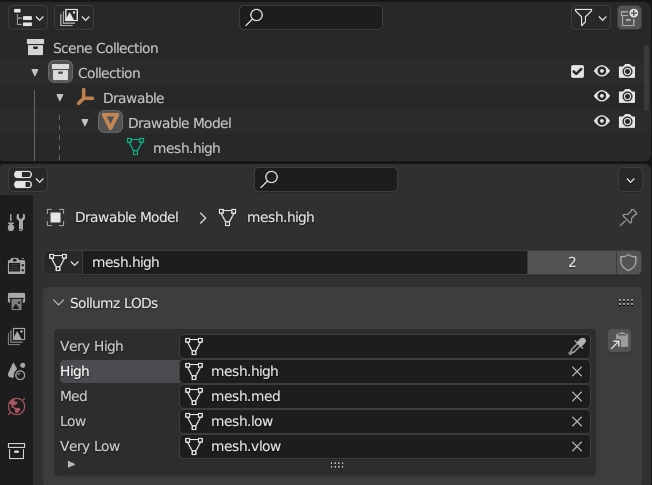
The LODs for each Drawable Model can be edited in the Mesh Properties > Sollumz LODs panel. As mentioned before, there are 4 LOD levels: High, Medium, Low, and Very Low. You will also see the "Very High" LOD level, but that is only used for YFT vehicles (see Fragments > Vehicle Setup).
For each LOD level, you can select the mesh it will use. You can also select any LOD level from the list and it will swap out the mesh that the Drawable Model uses.
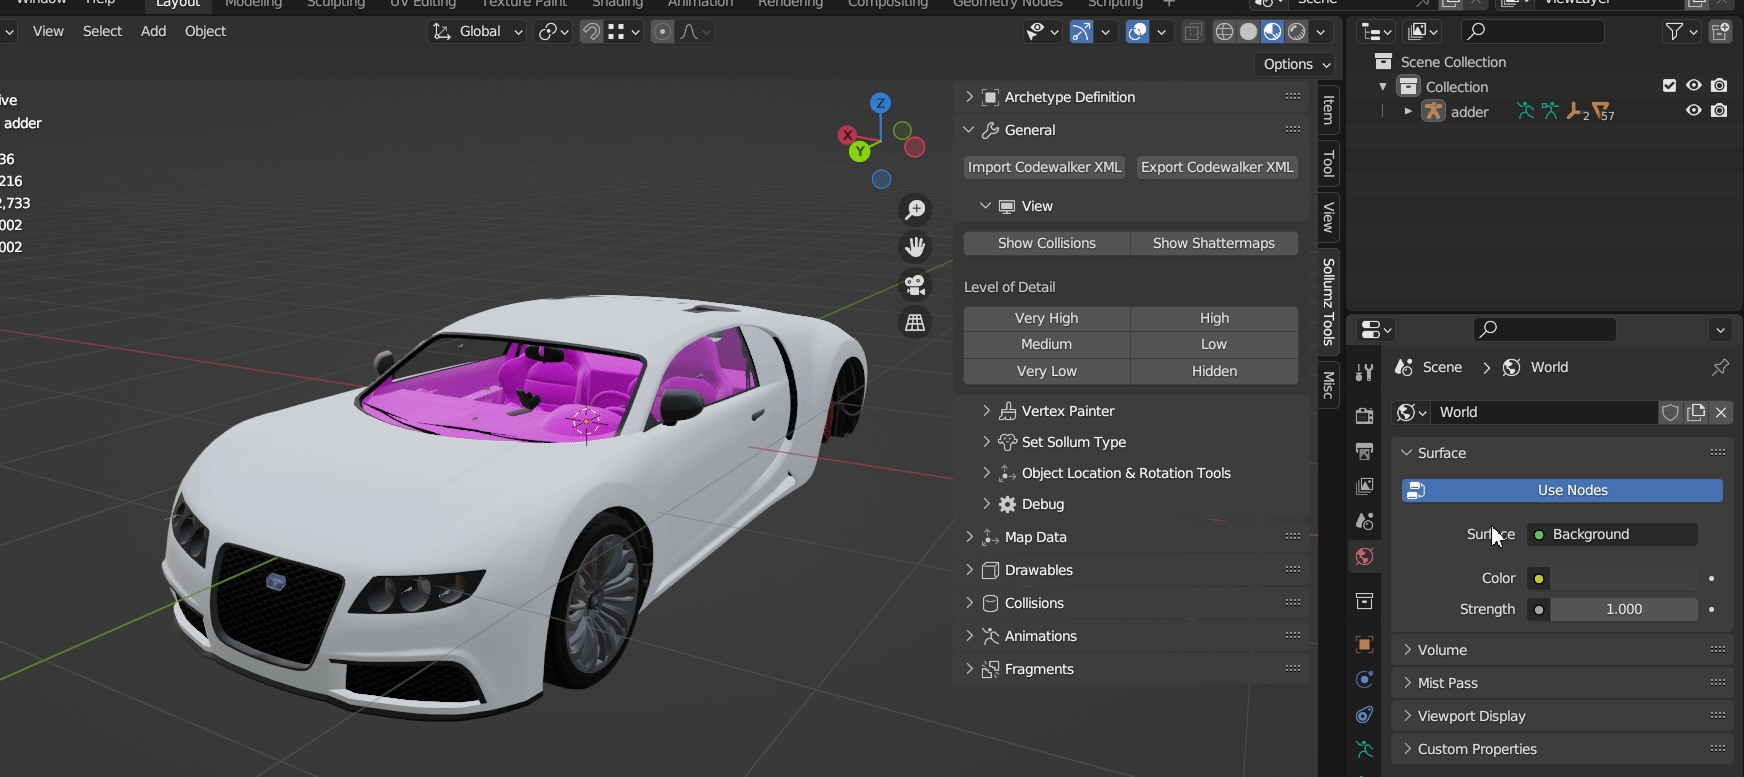
LODs can also be changed for the entire hierarchy at once in the Sollumz Tools > General > View panel.
Alternatively, press Shift + V to open a pie menu for quickly viewing different LOD levels.
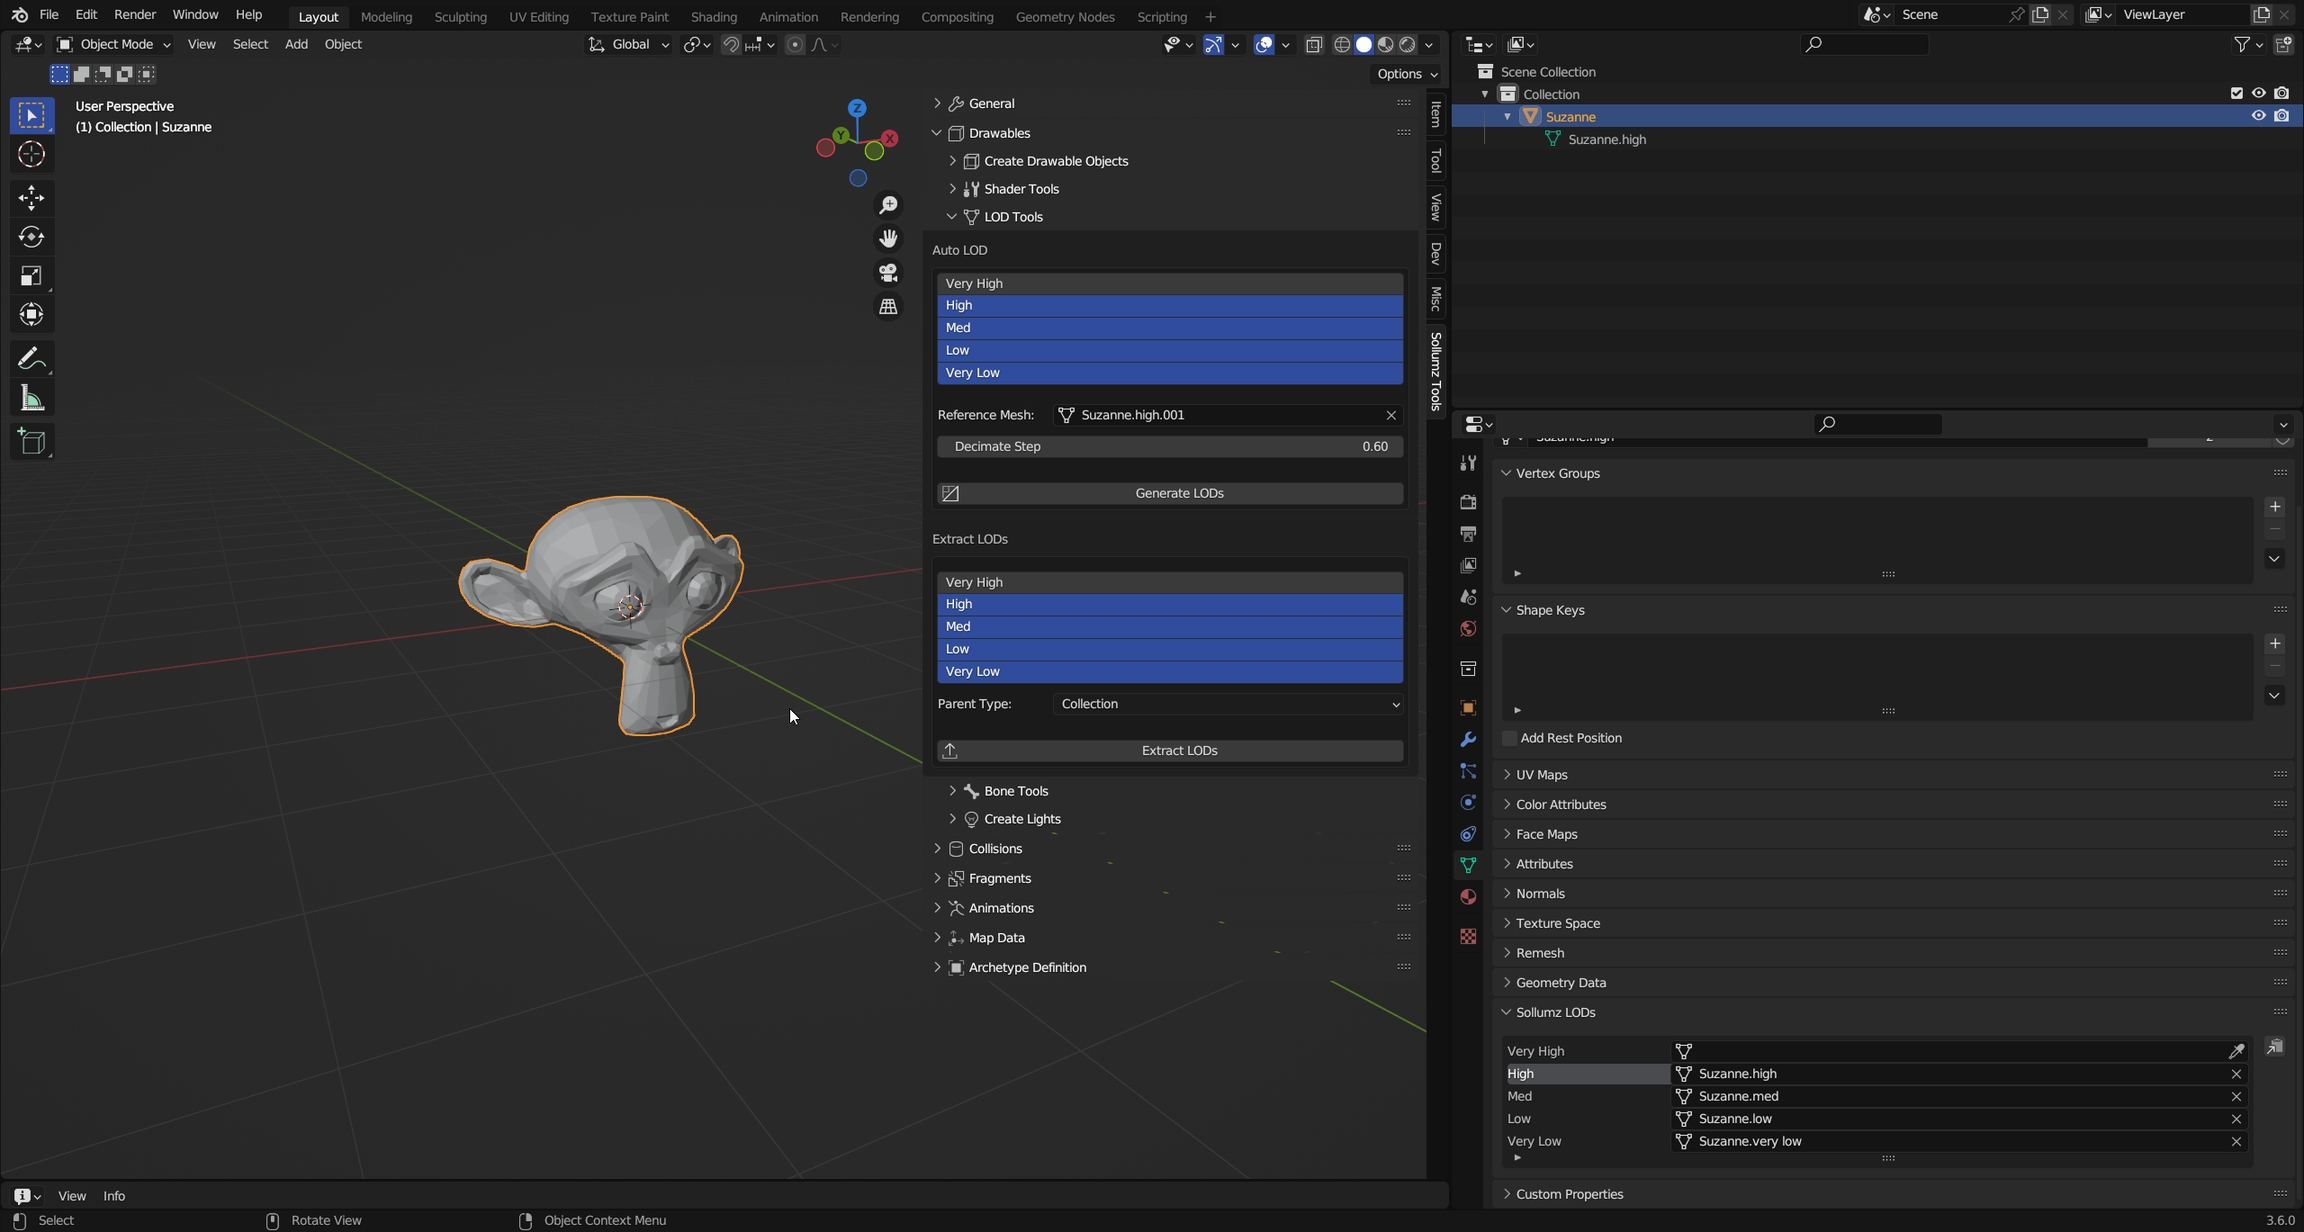
Sollumz provides a basic LOD generation tool that uses the decimate modifier.
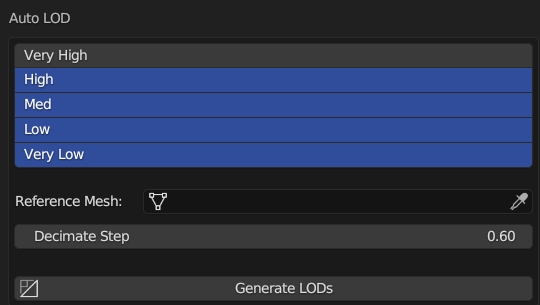
Select the Drawable Model and Navigate to Sollumz Tools > Drawable > LOD Tools.
From here you can select which LOD levels will get created. Normally you'd model the highest LOD first, convert to a Drawable Model, then use that high LOD mesh as the reference mesh. The reference mesh is not affected in this process. Each subsequent LOD level is decimated by Decimate Step.
Your results will vary depending on the mesh, as the decimate modifier does not work well for all topologies.
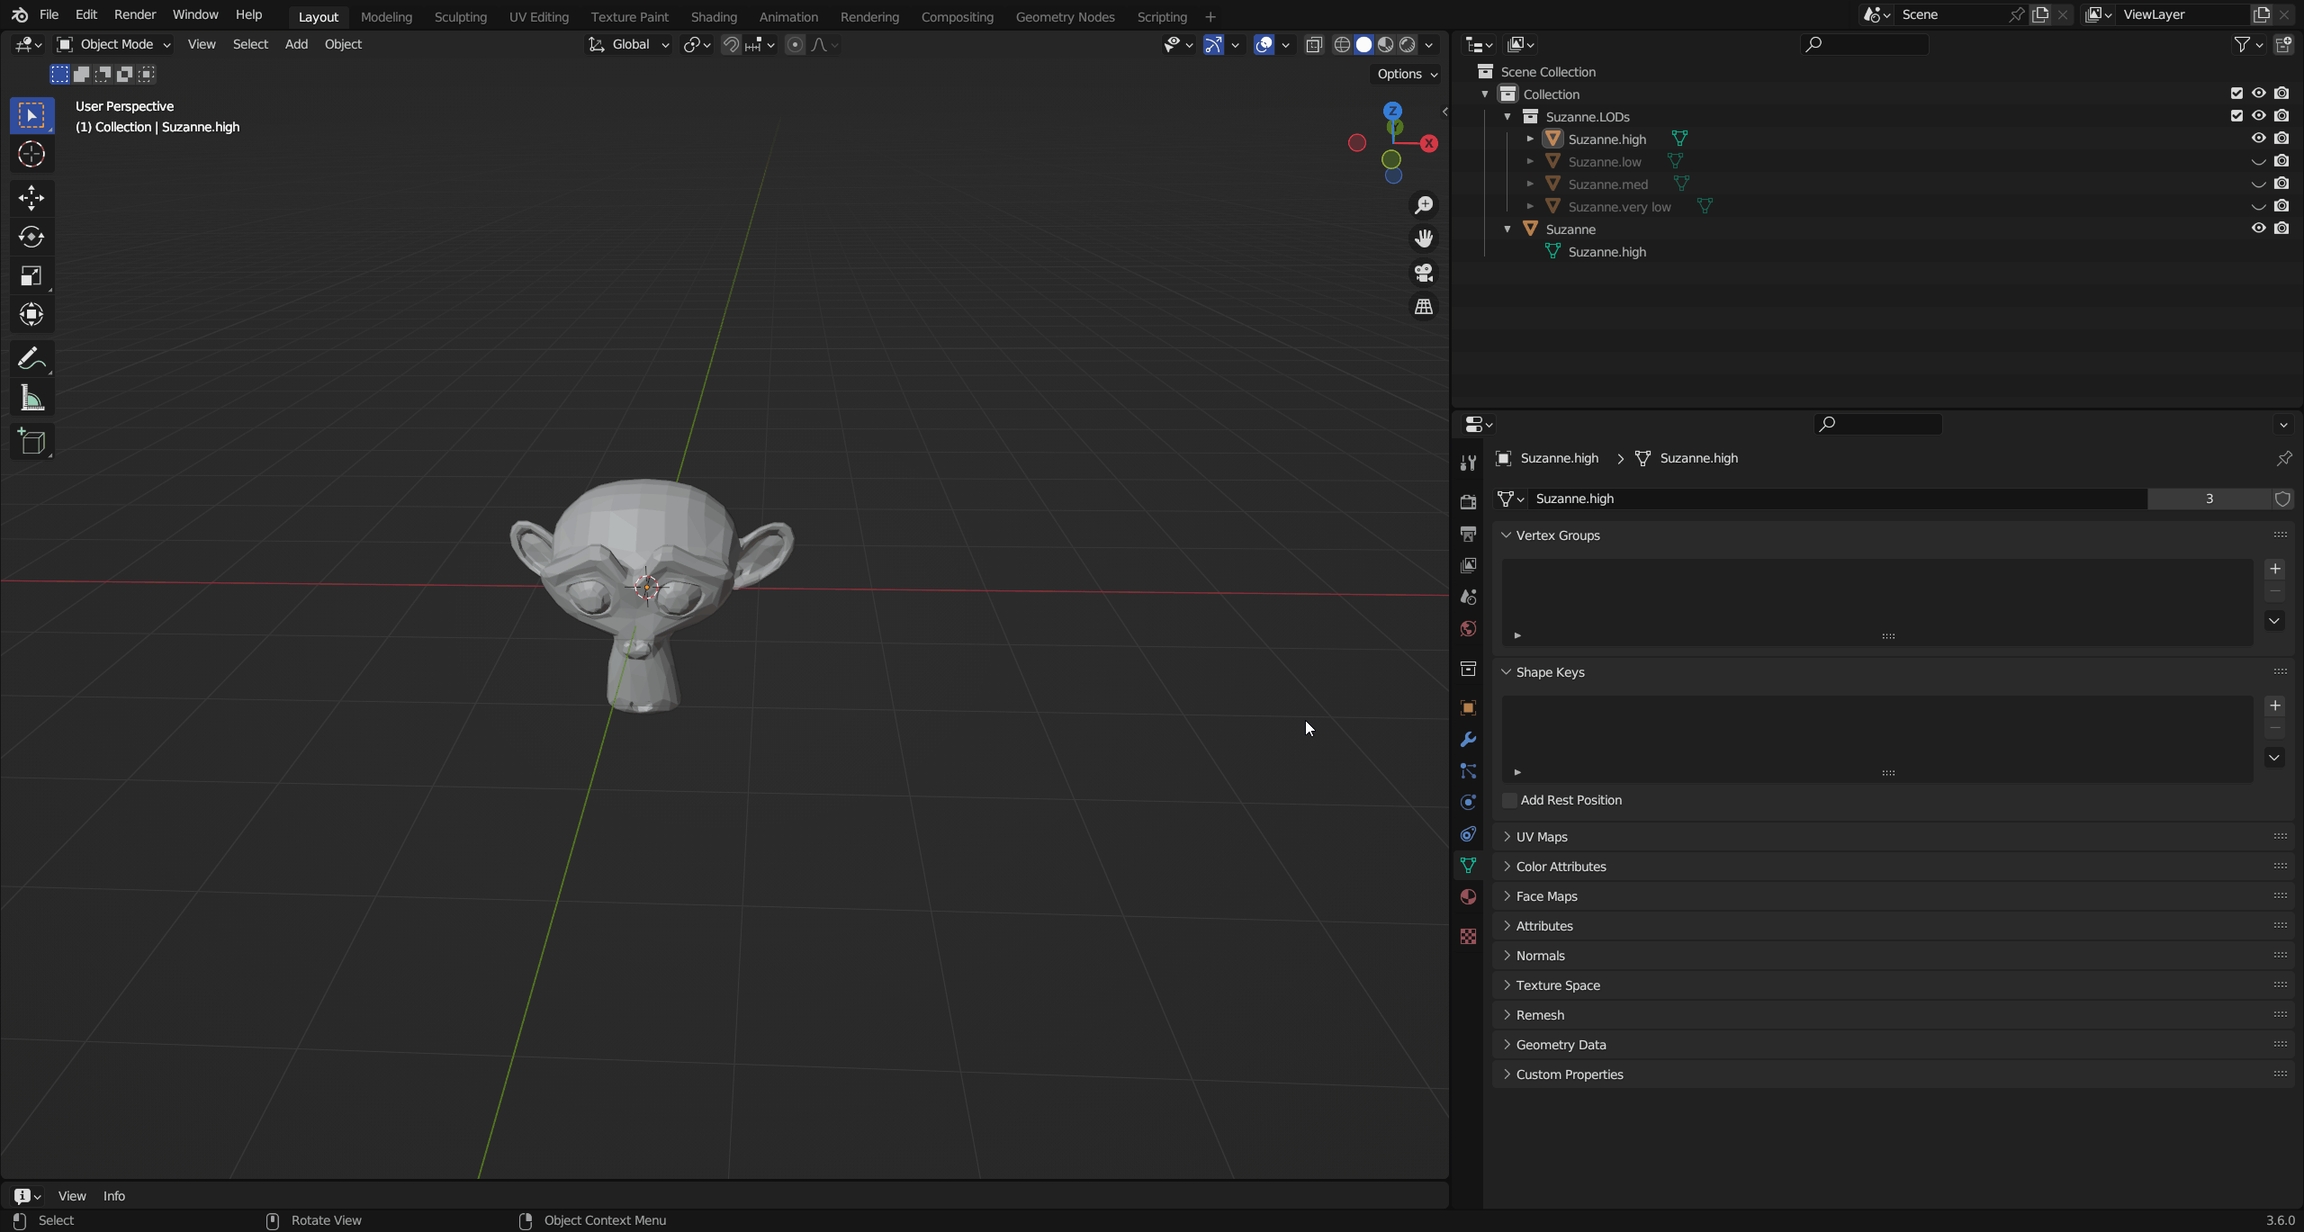
You can also take advantage of Blender's instancing functionality and separate the LOD meshes into separate objects. This allows you to work on multiple LOD meshes at once.
Select the Drawable Model and Navigate to Sollumz Tools > Drawable > LOD Tools.
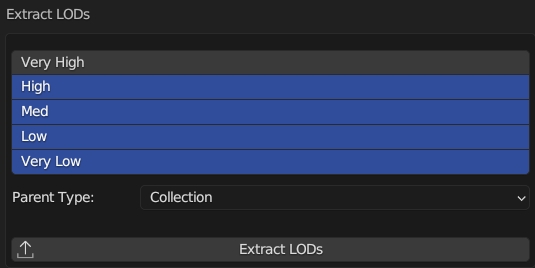
From here you can select which LODs to extract as well as what to parent the new objects to. You can either parent the objects to a collection or an empty object.
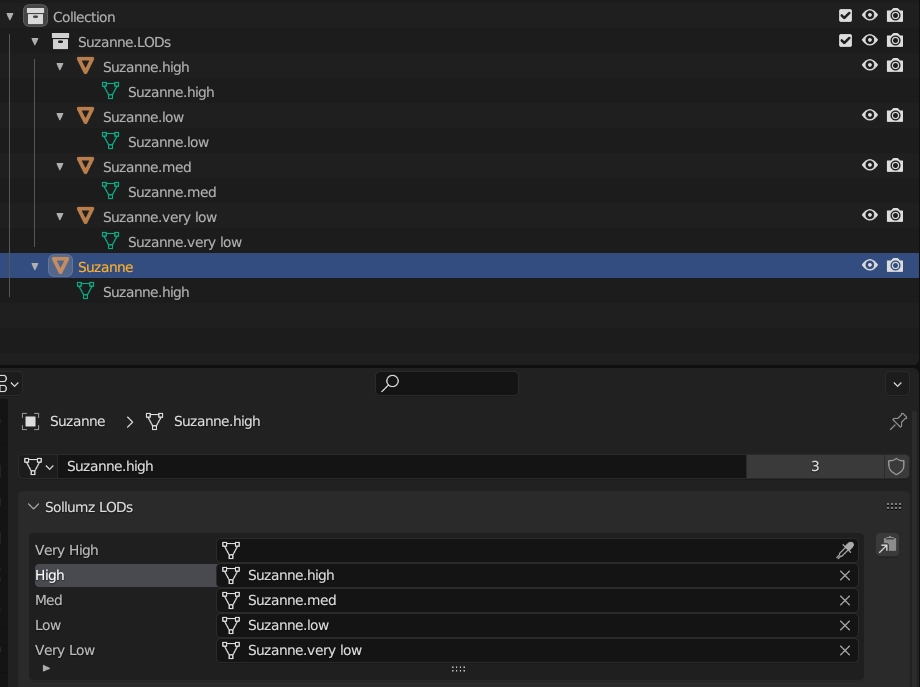
Notice how these new objects are using the same meshes as the ones defined in the Sollumz LODs panel.
Now, if you edit one of these object instances, the Drawable Model will be affected too.
Drawables can be rigged using either vertex groups (skinning) or Child Of constraints. The top-level Drawable object must be an armature.
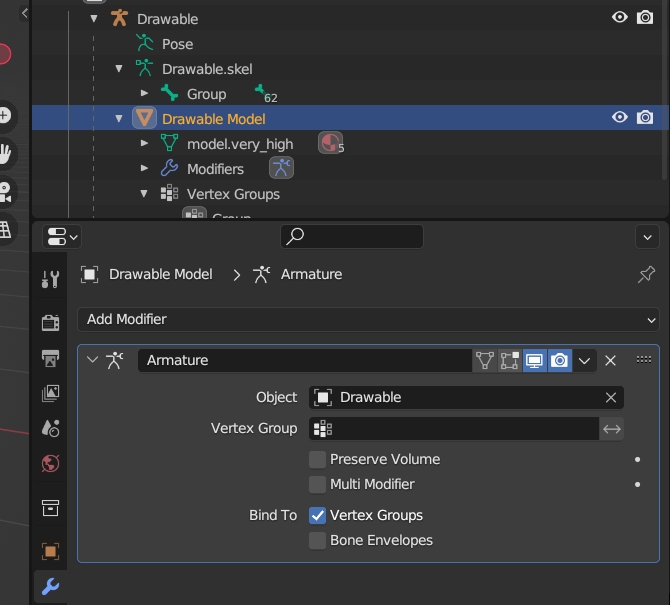
Skinning Drawables works the same way you would normally do it in Blender. Simply create vertex groups where each group's name corresponds to a bone in the armature. Then, add an armature modifier and specify the Drawable as the armature object.
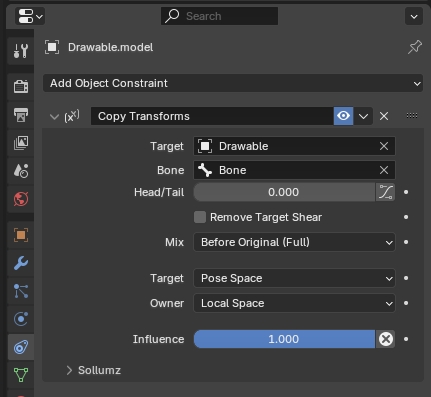
Many Drawables aren't rigged using weighted vertex groups. You can instead link an entire Drawable Model to a bone by using a Copy Transforms constraint.
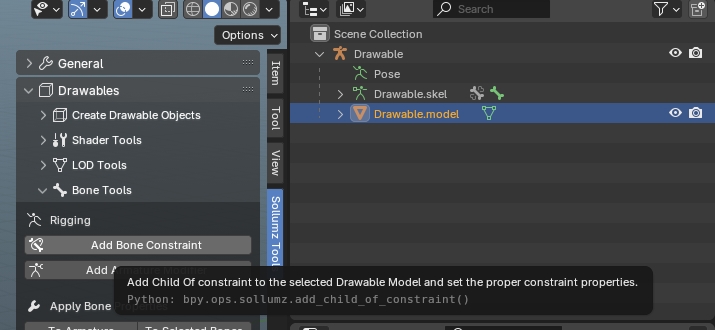
Use the "Add Bone Constraint" operator with the Drawable Model Selected to add a Copy Transforms constraint with the properties setup for correct previewing.
By default, Blender sets the owner space and target space of the Copy Transforms constraint to "World". This can cause issues when objects are parented to both bones and other objects. Because of this, make sure to always use the Add Bone Constraint tool when creating Copy Transforms constraints.


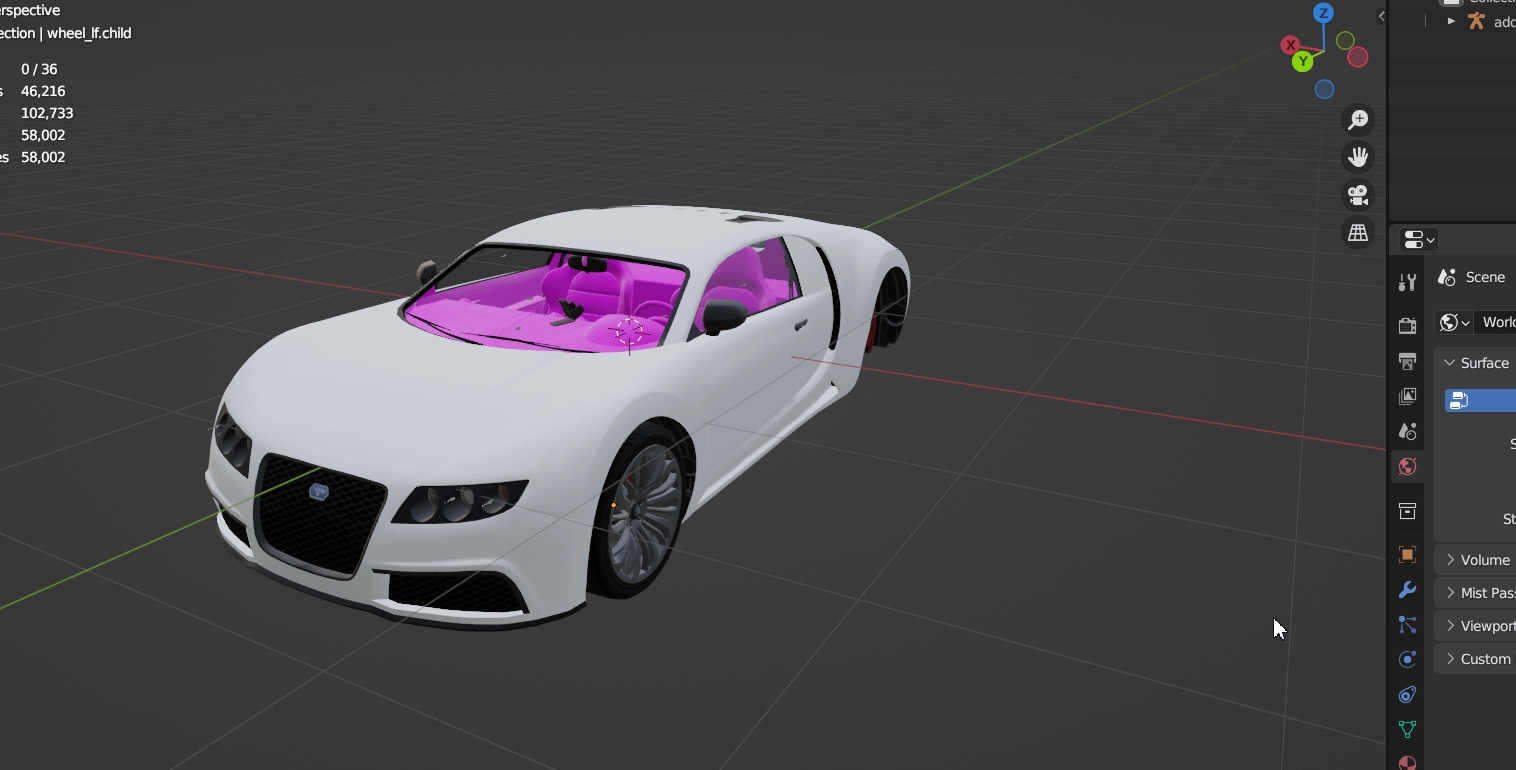
Drawables are objects that hold mesh data, skeleton data, and shader data. It can be thought of as the game engine's mesh format. YDR files contain one Drawable and are typically used for static mapping but are also used for dynamic props in some cases. In cases where a prop consists of multiple breakable parts, Fragment (.yft) objects are used instead.
Drawables consist of multiple "Drawable Models" which hold the actual mesh data. Drawable Models are organized into High, Medium, Low, and Very Low detail levels. In every Drawable there is also a list of the shaders used and the parameters for each shader. Sometimes there are textures embedded in the file as well. Drawables can also contain skeleton data, but it is not required. This is usually only found in dynamic Drawables (objects affected by physics) such as props or in Drawables that are animated. Lastly, Drawables can contain lights, where each light contains light properties such as direction, falloff, color, etc.
In Blender, the hierarchy for Drawables consists of one parent Drawable object (either an empty or an armature depending on whether or not the Drawable has skeleton data) and Drawable Models (mesh objects).
