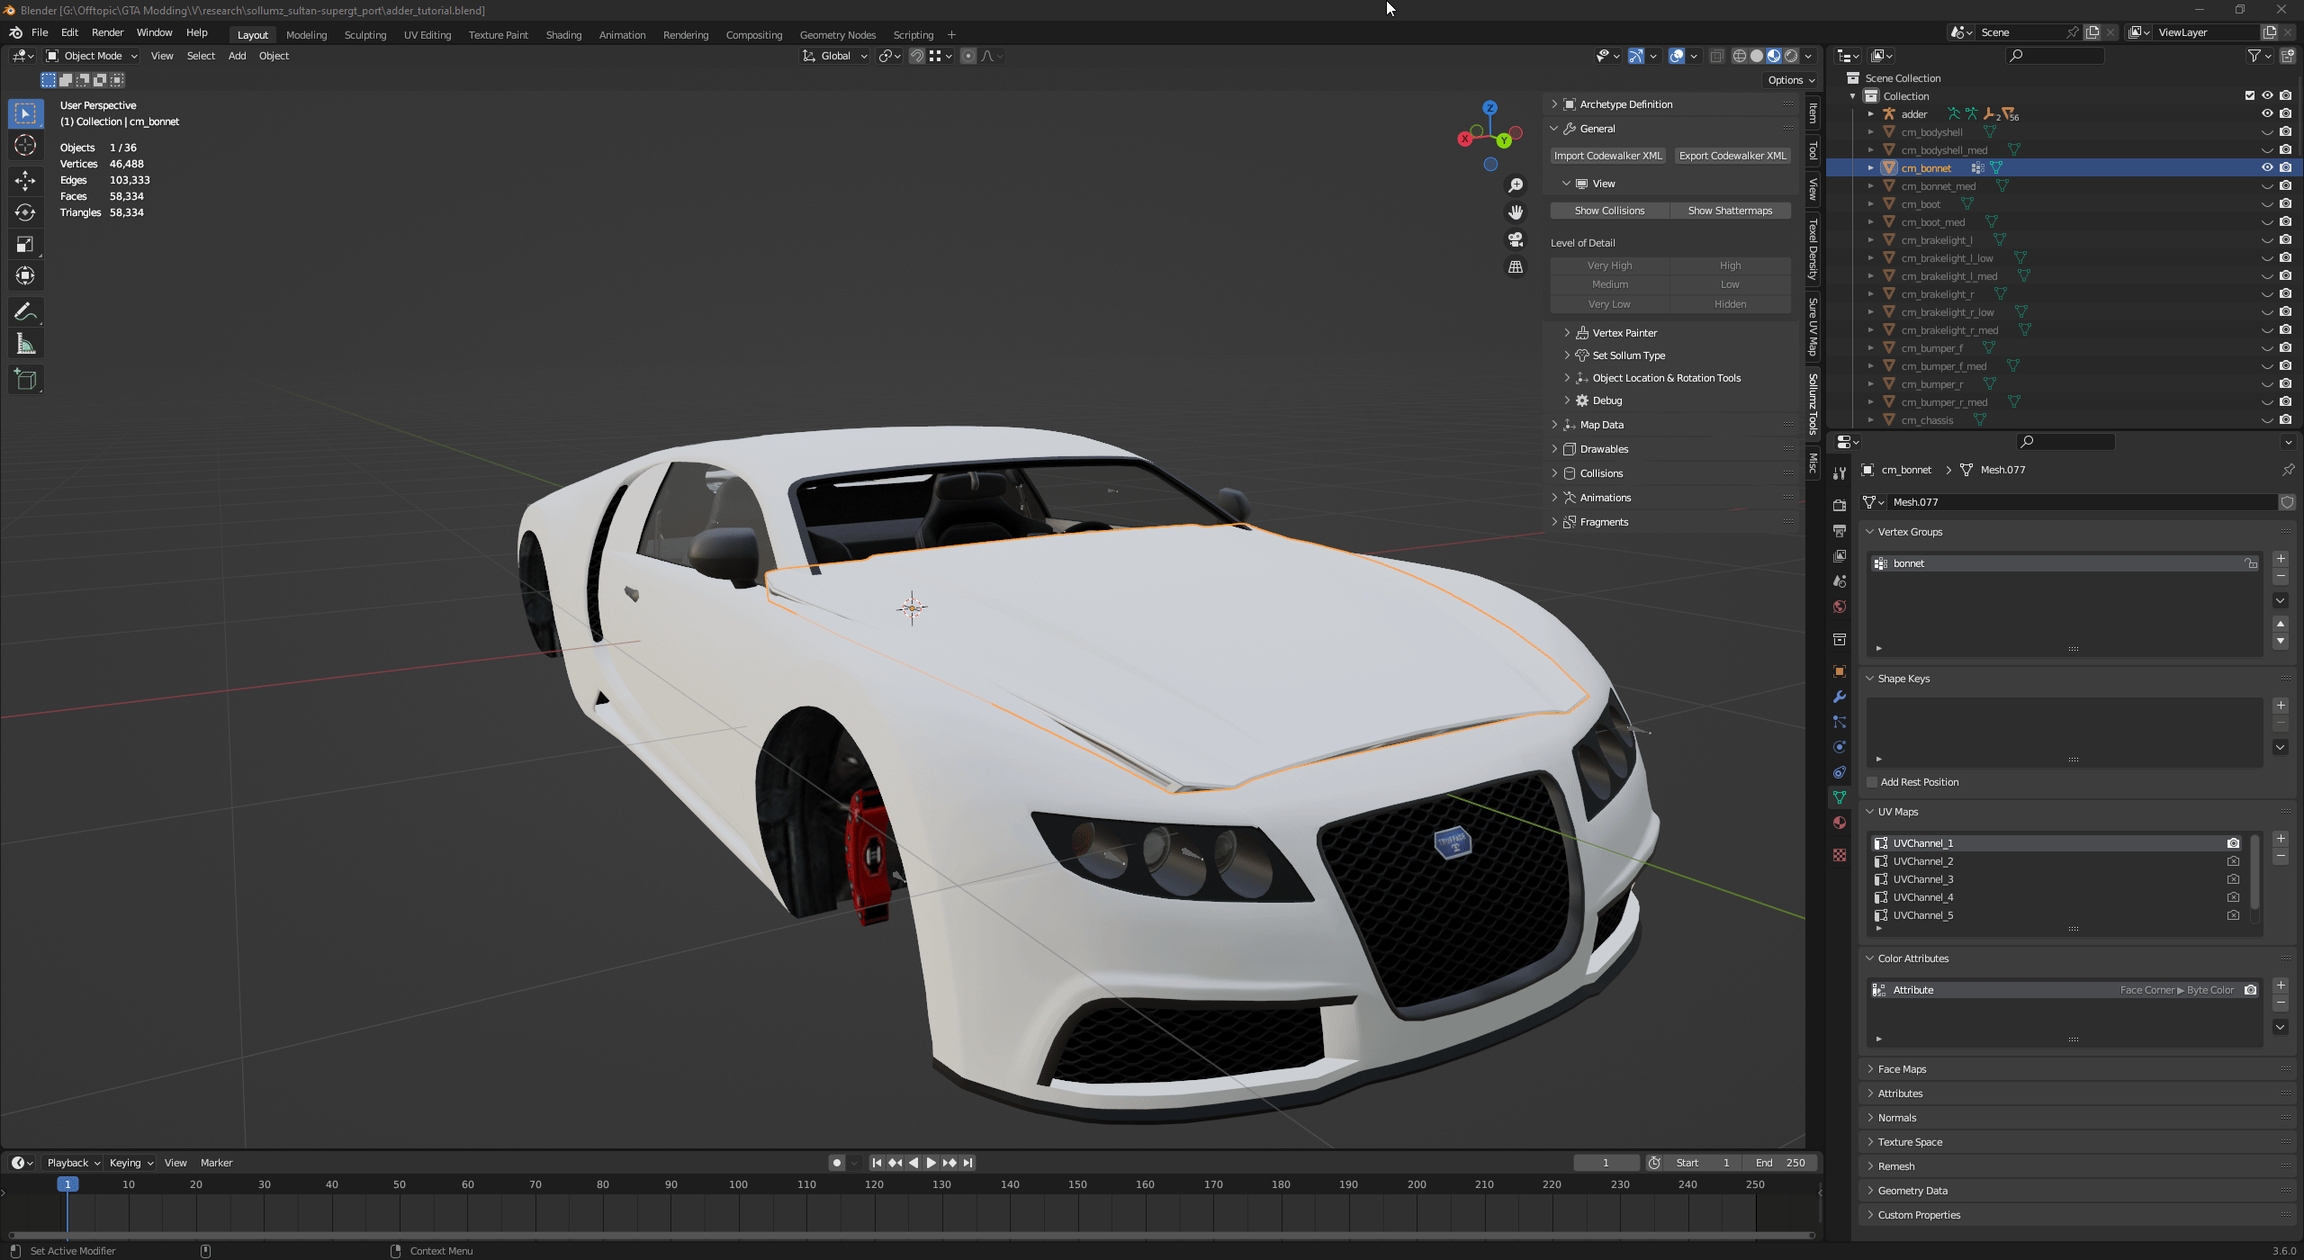
This step is needed when you are creating a fully custom vehicle. If this is an edit of an existing car, skip this step and go to next one.
Bones can be easily moved in Edit mode. To move them:
Switch to Solid Mode
Toggle X-Ray
Choose a bone you want to move
Select it in 3D View
Click on Move icon
Move the bone using gizmo.
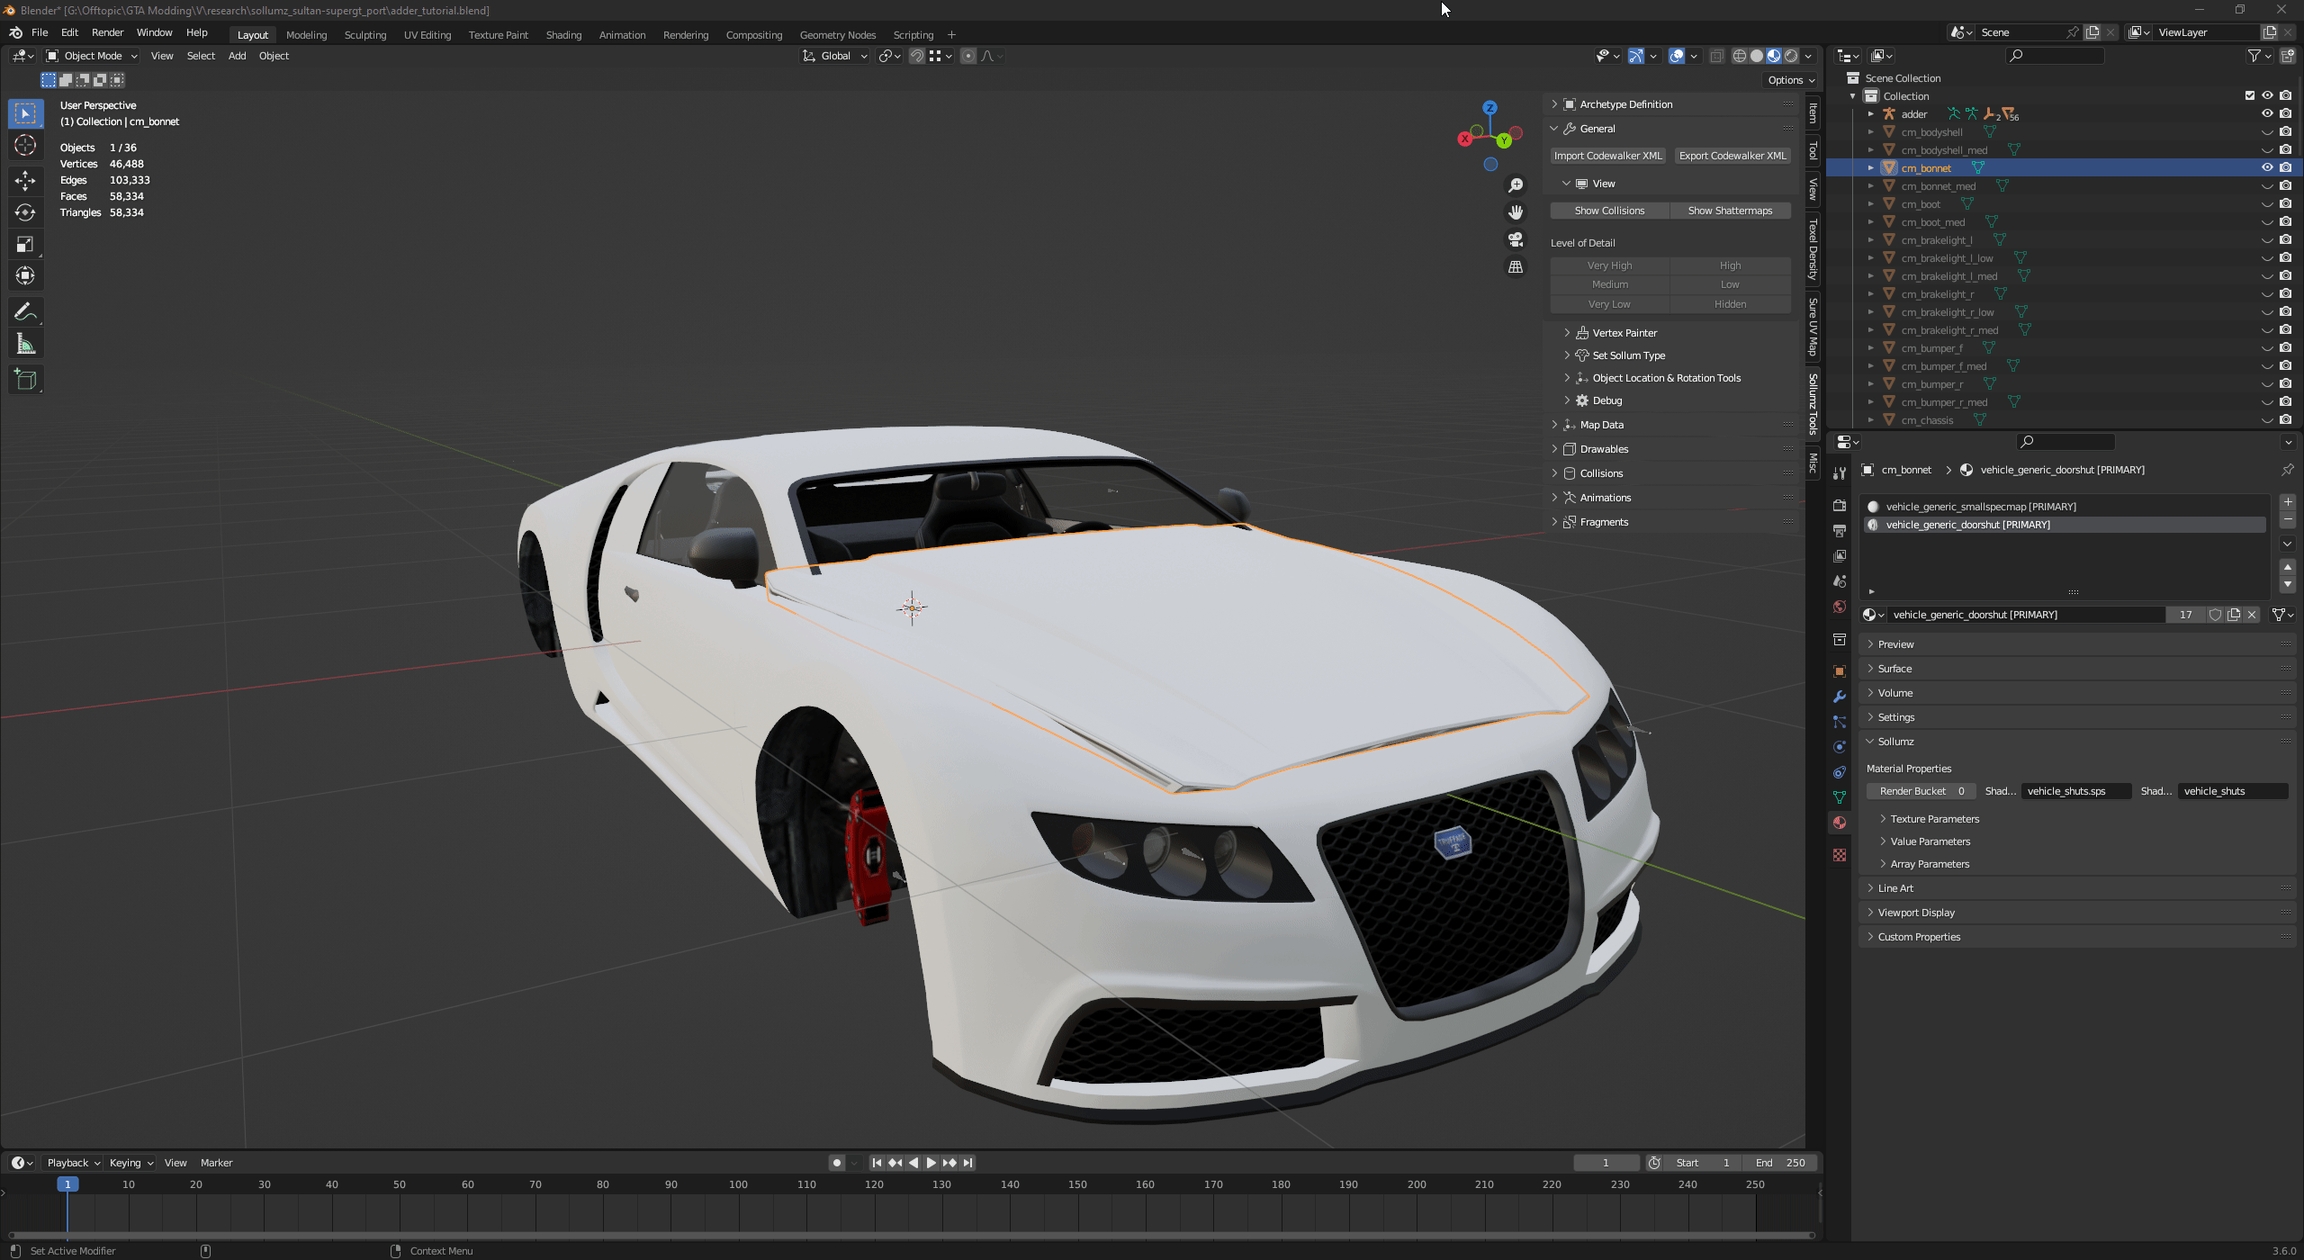
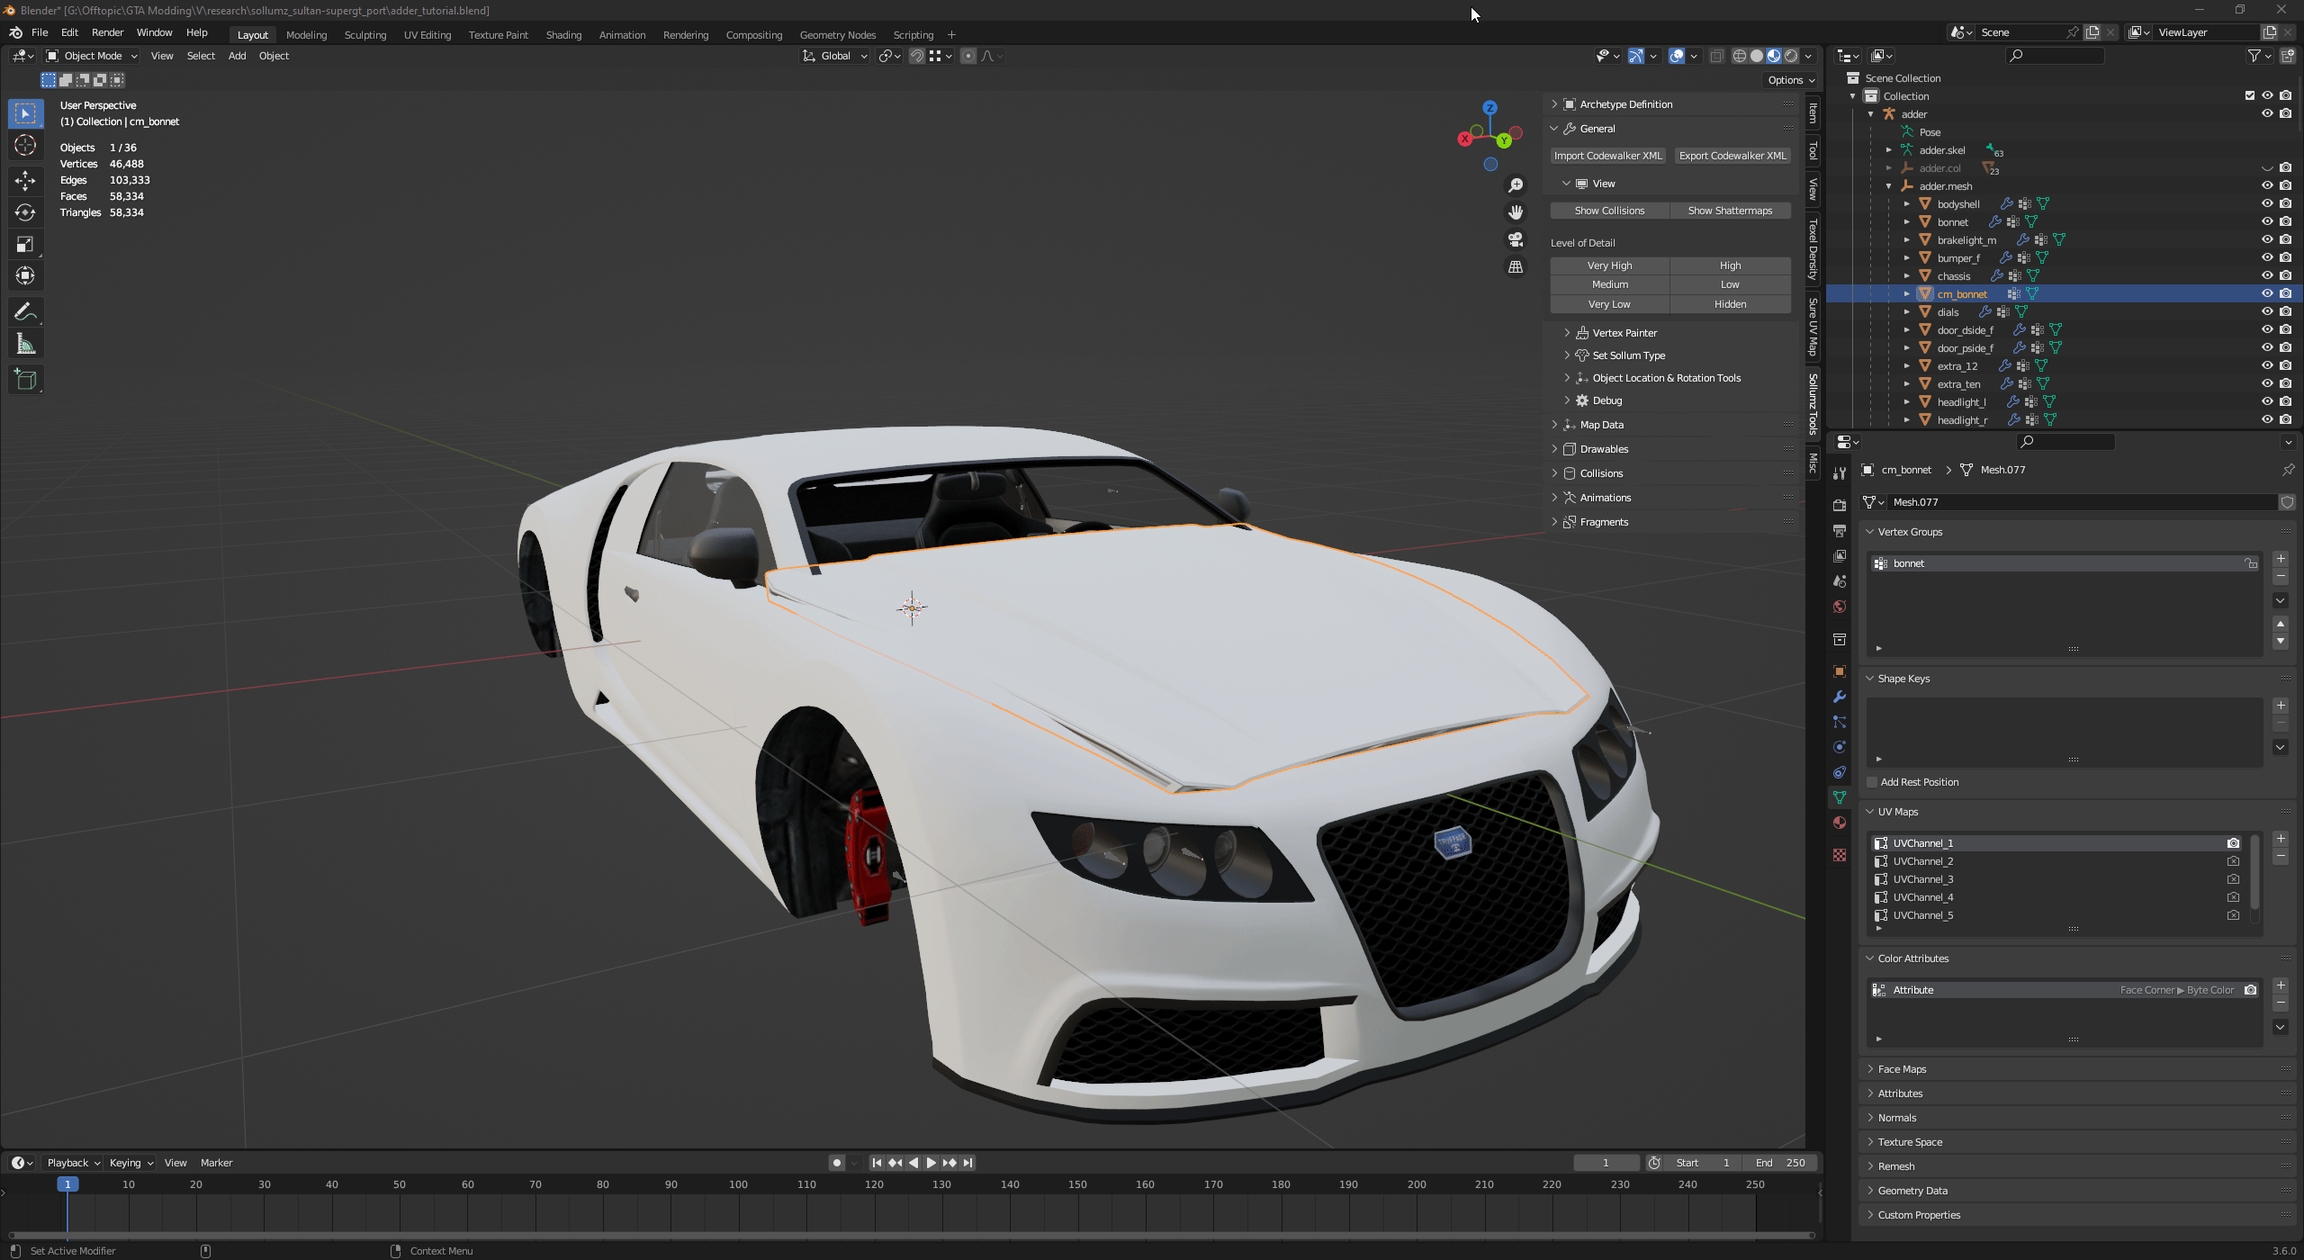
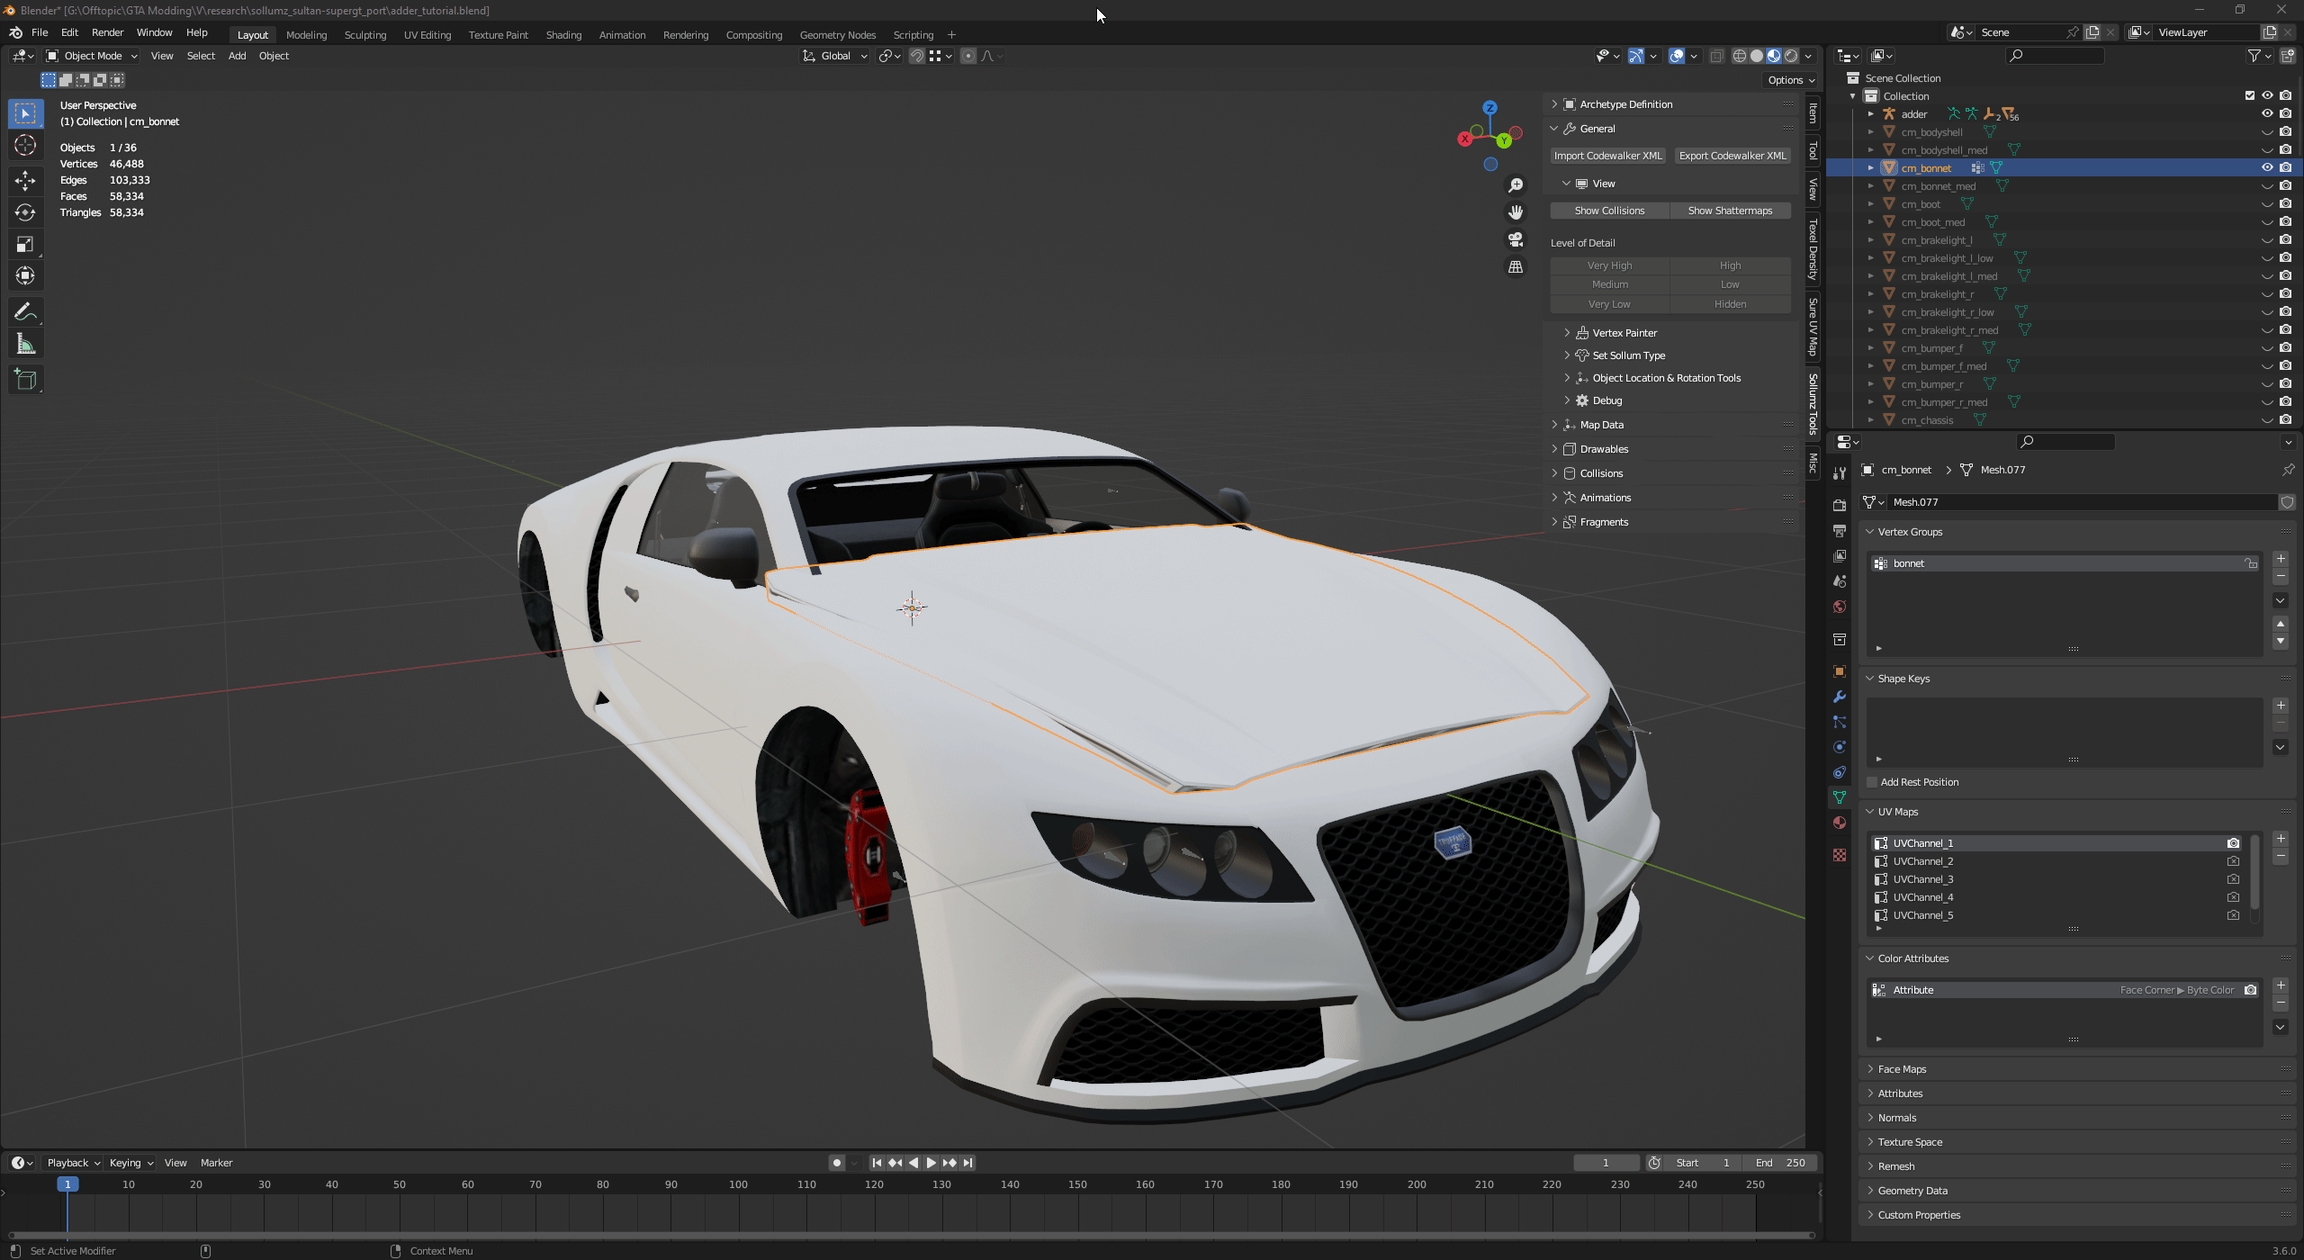
To create a new vertex group, go to Data tab, click + in Vertex Groups, double click on the Group name and rename it to bonnet.
Change Object Mode to Edit Mode.
Switch to Face Select.
Select all faces by pressing A or using the CTRL+A shortcut.
Go to Vertex Groups, click Assign button and exit Edit Mode.
Now all of the selected faces are properly set to the bonnet vertex group.
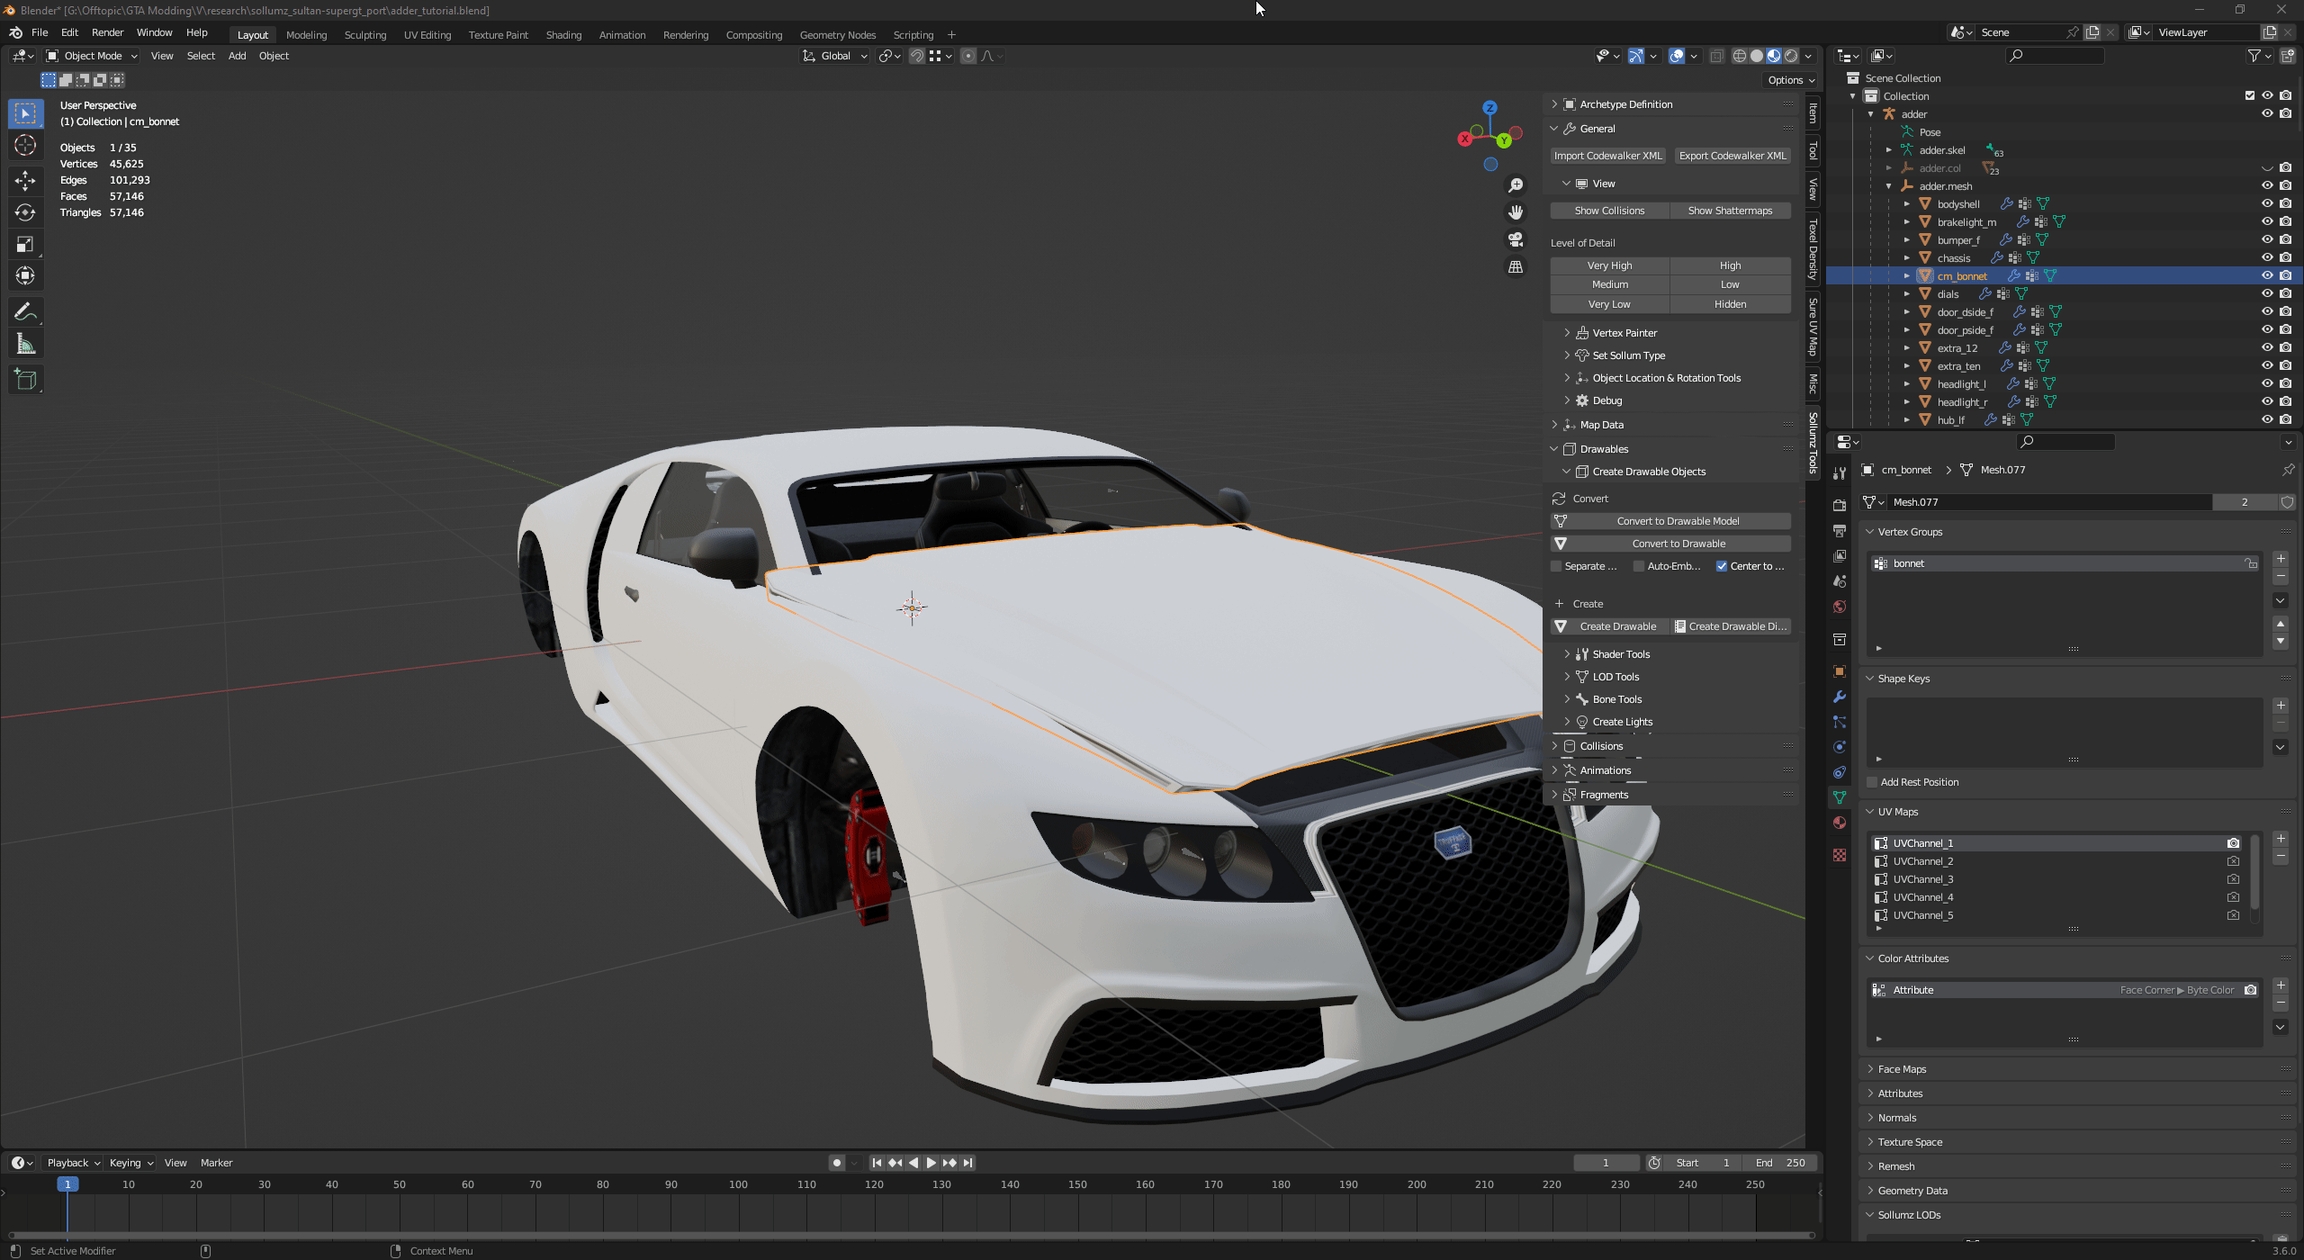
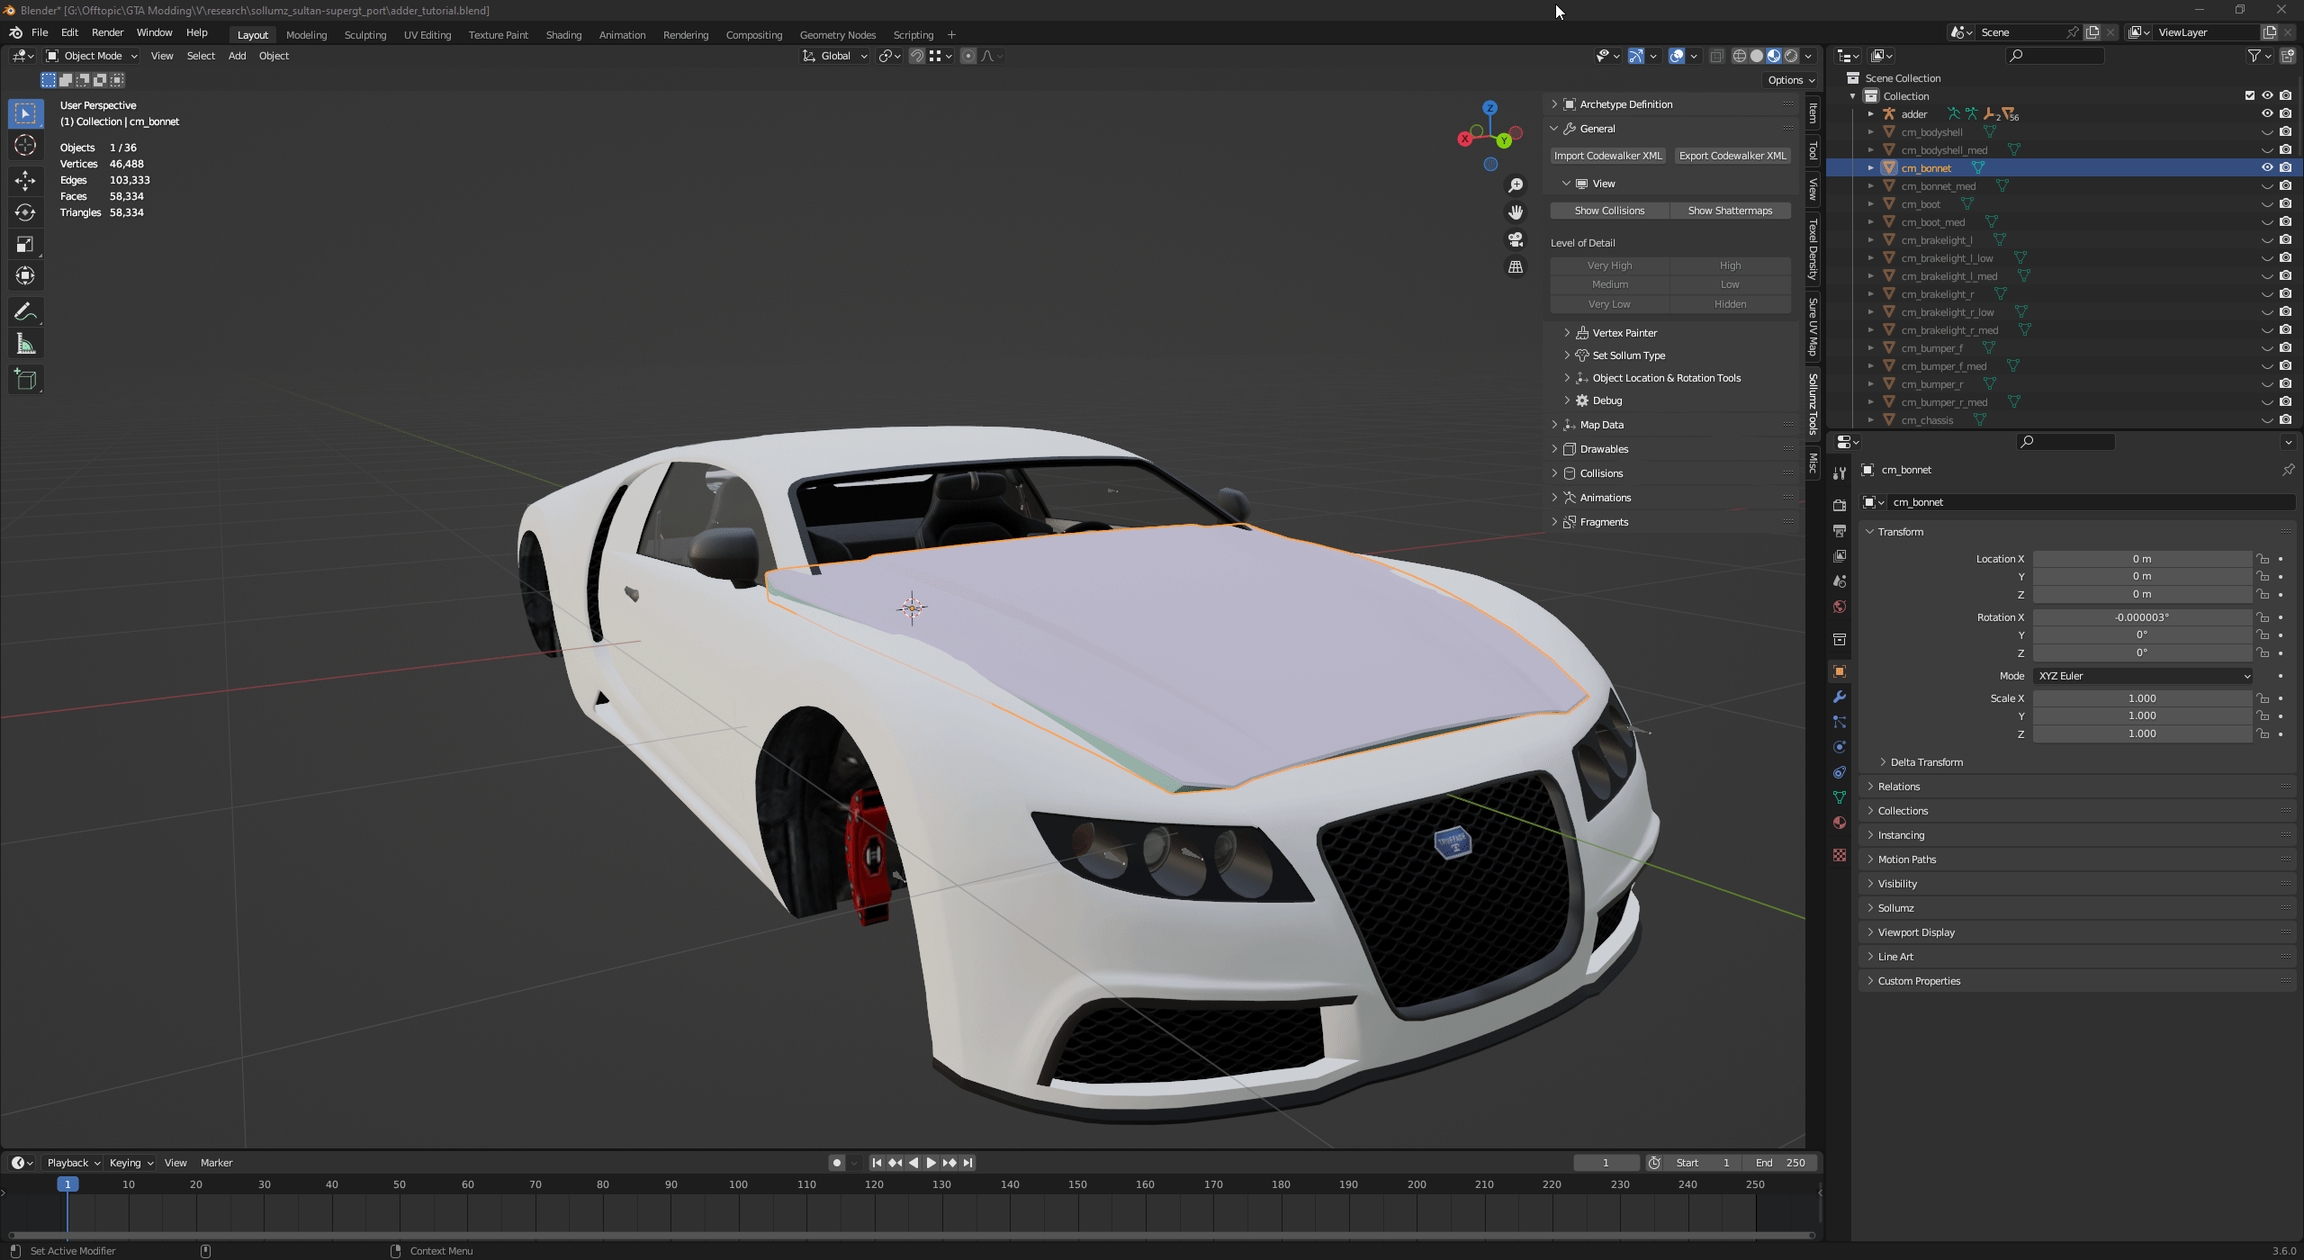
Our new custom bonnet model has to be considered by Sollumz as a valid part, so we have to move the mesh by expanding Adder's armature then drag and drop bonnet's Drawable Model inside adder.mesh
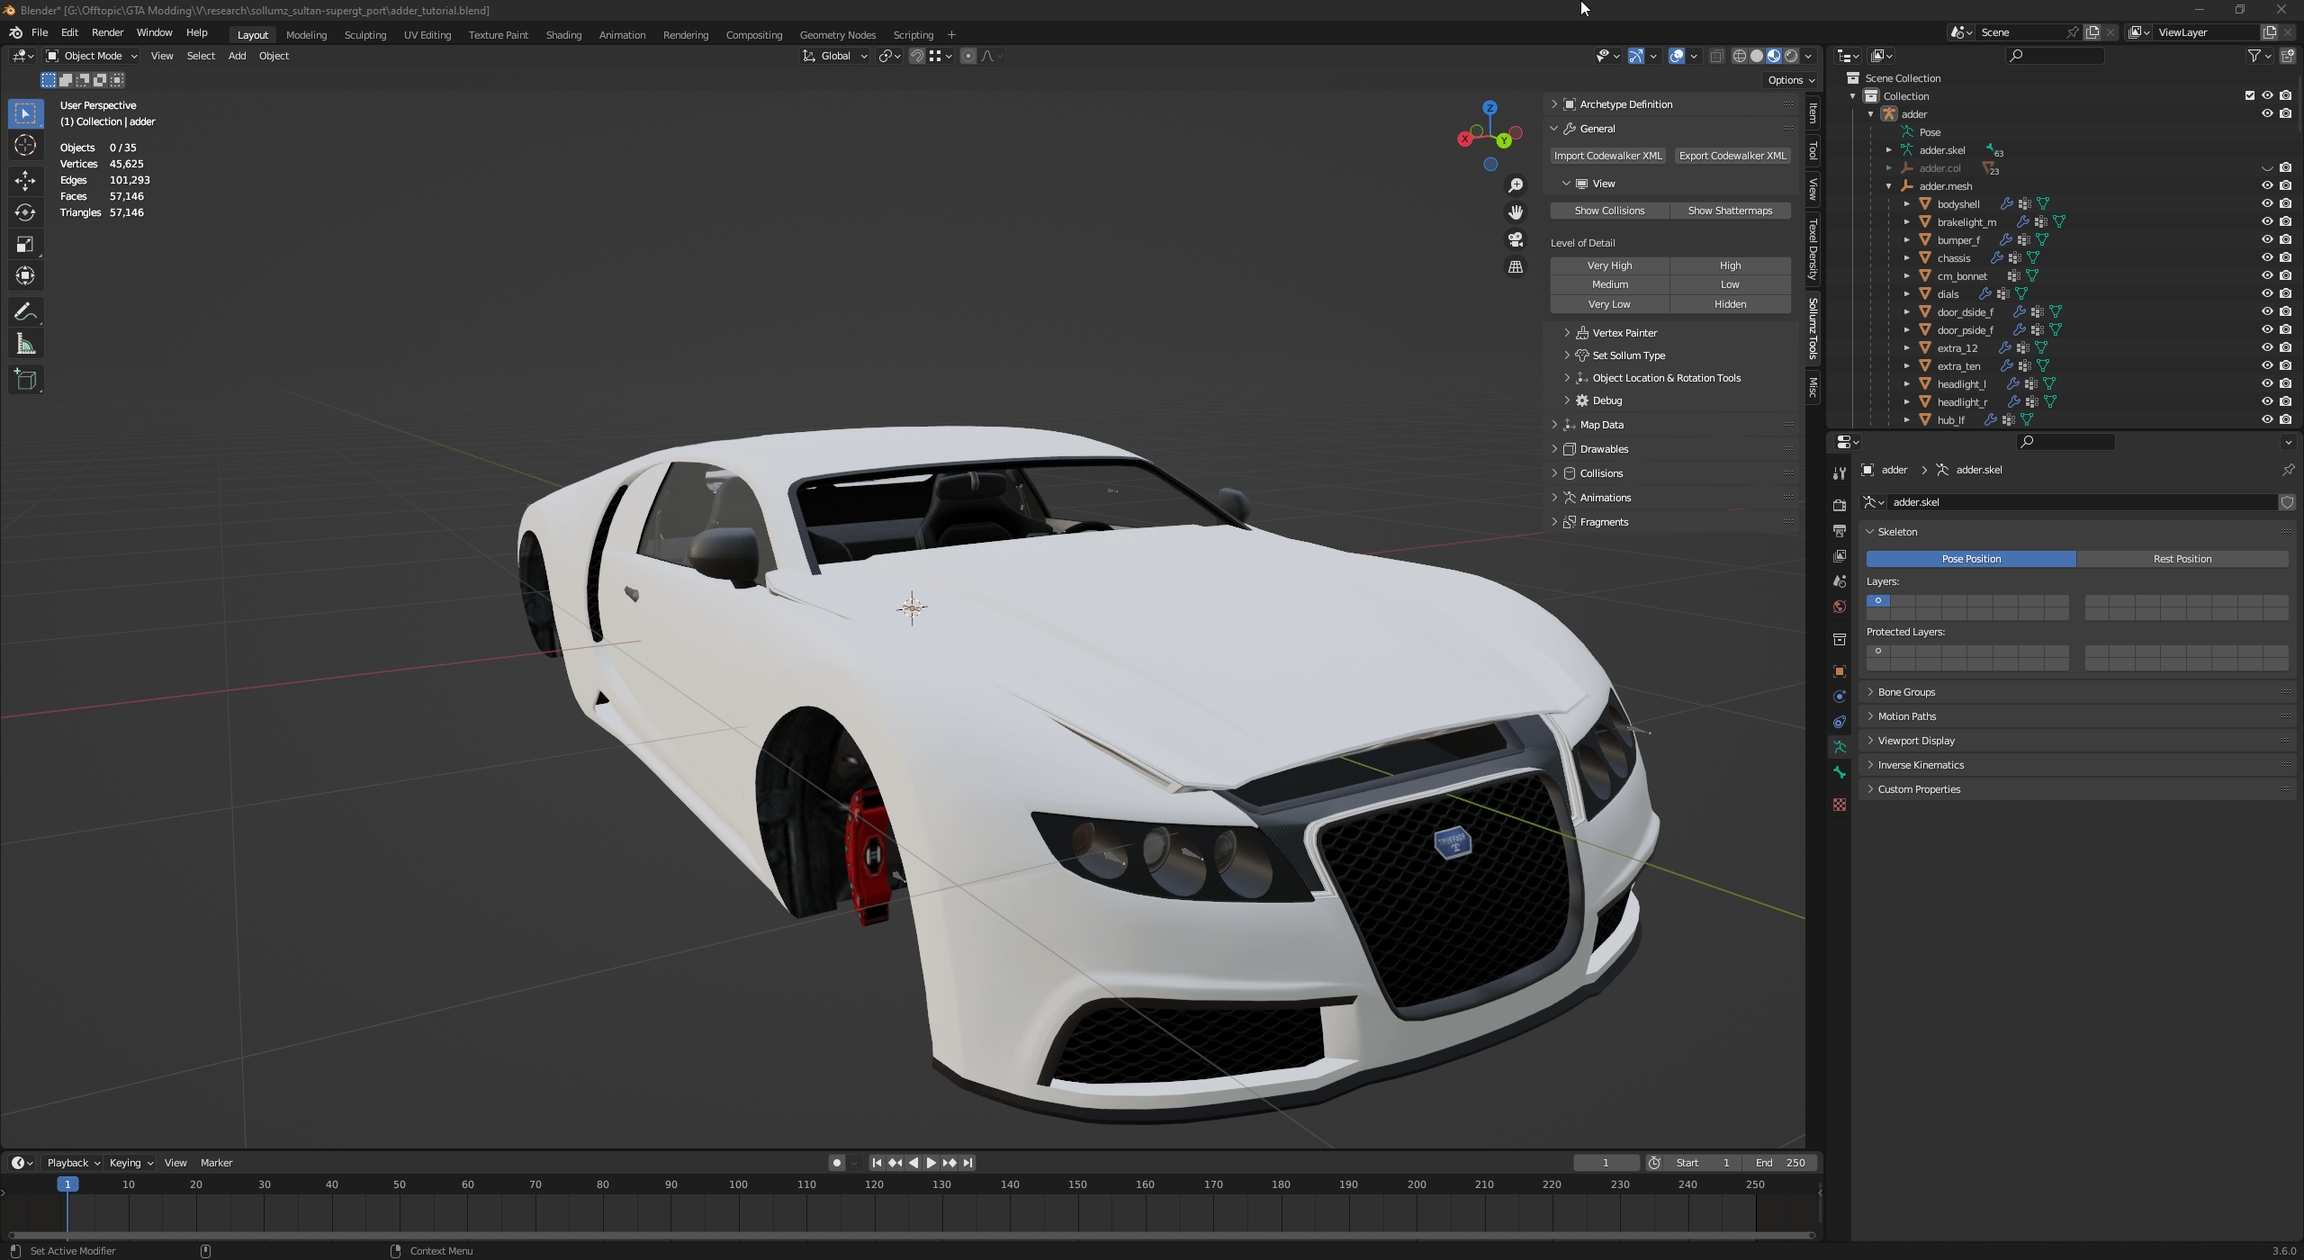
You can delete the original bonnet, since is not needed anymore.
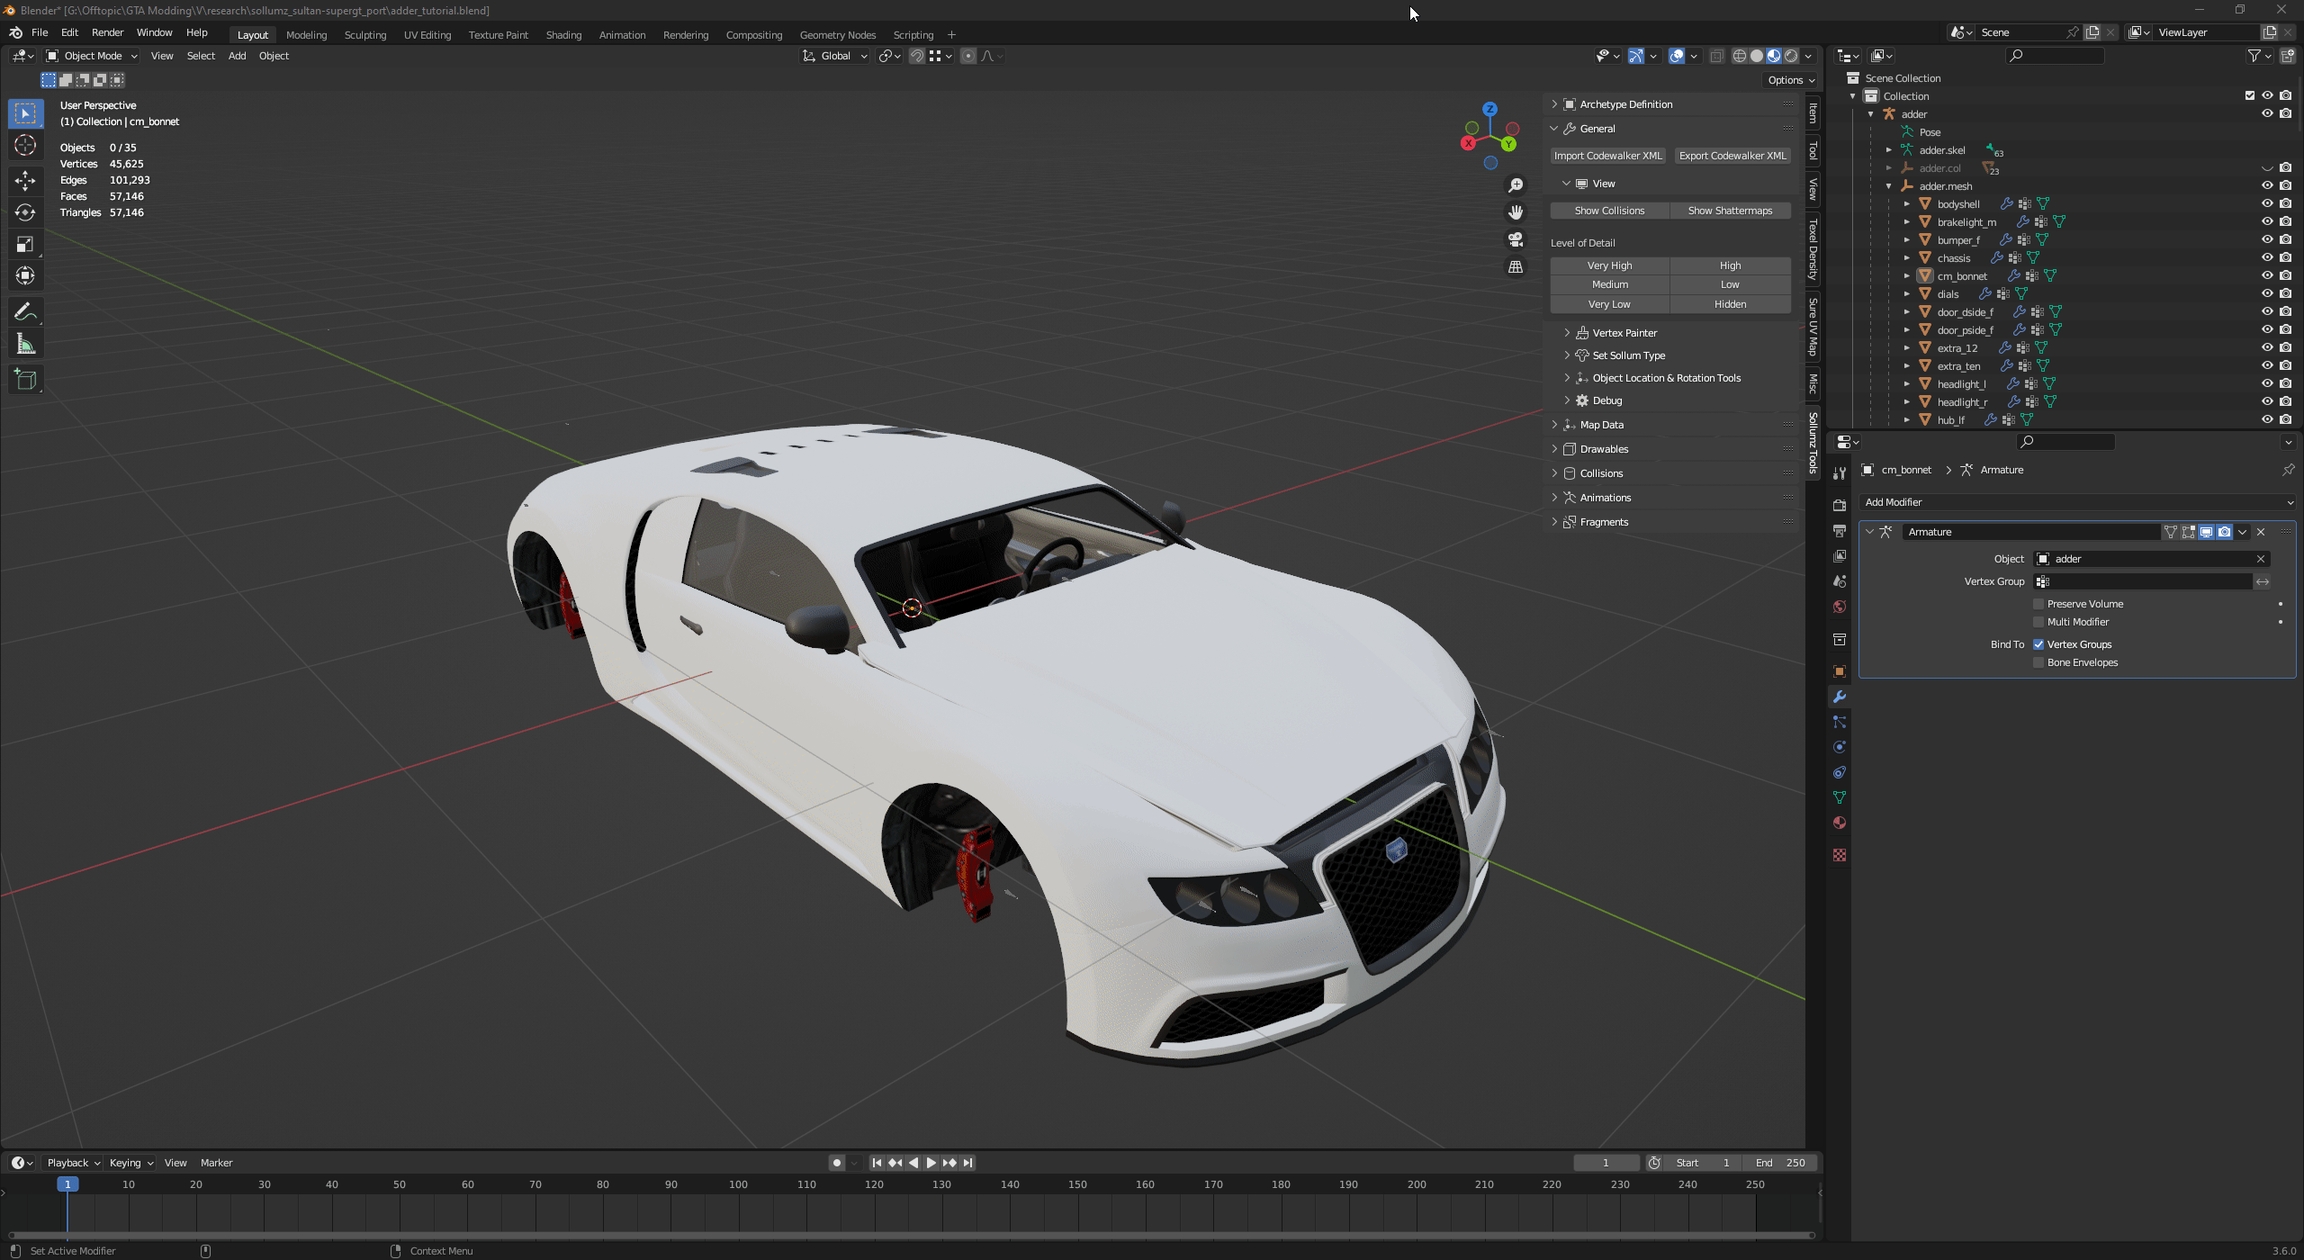
A replacement custom part has also to be linked to the armature, you can do this via Armature modifier.
Go to Modifiers tab.
Add an Armature modifier.
Select your vehicle's armature.
In this crash course tutorial, you are going to learn how to create a vehicle using a vanilla GTAV vehicle as a base. A basic knowledge of RAGE engine is nice to see.
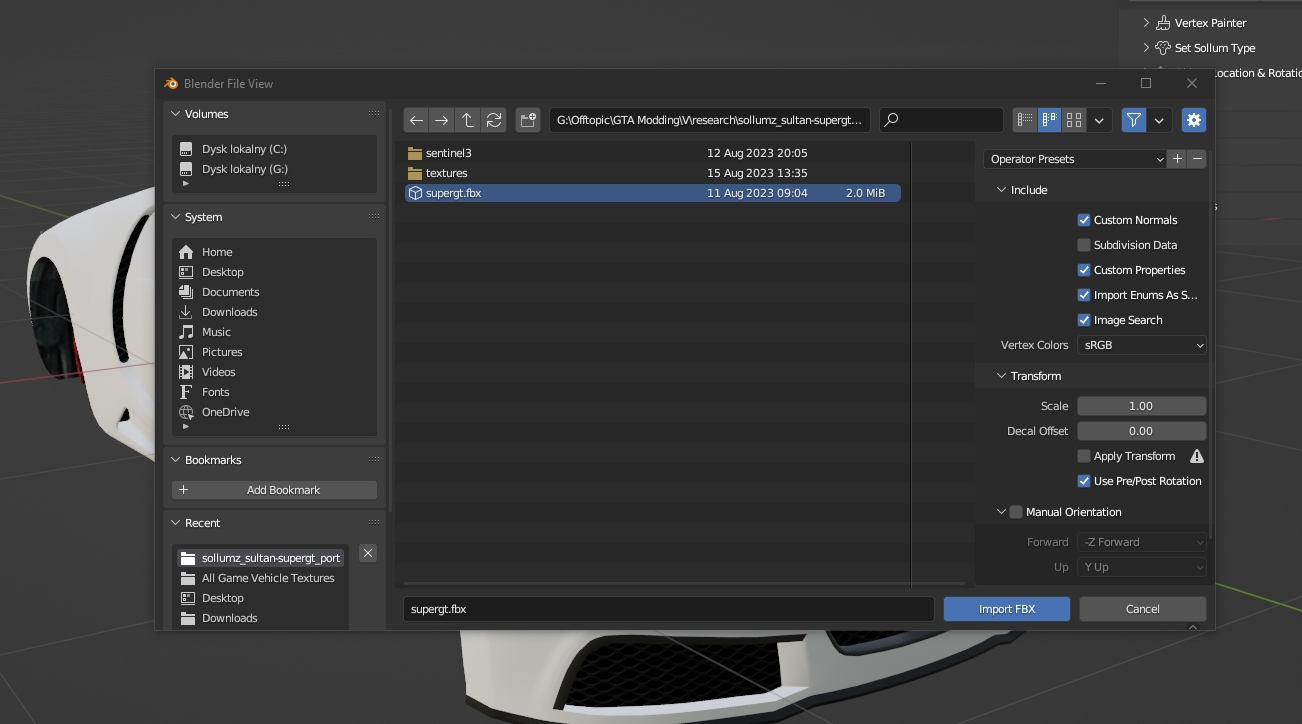
Without further ado, import a model (from a different game, modelled by yourself) to Blender. In this case, I am going to import the Super GT from GTAIV in .FBX format.
You can ditch that part if your vehicle was modelled in Blender.
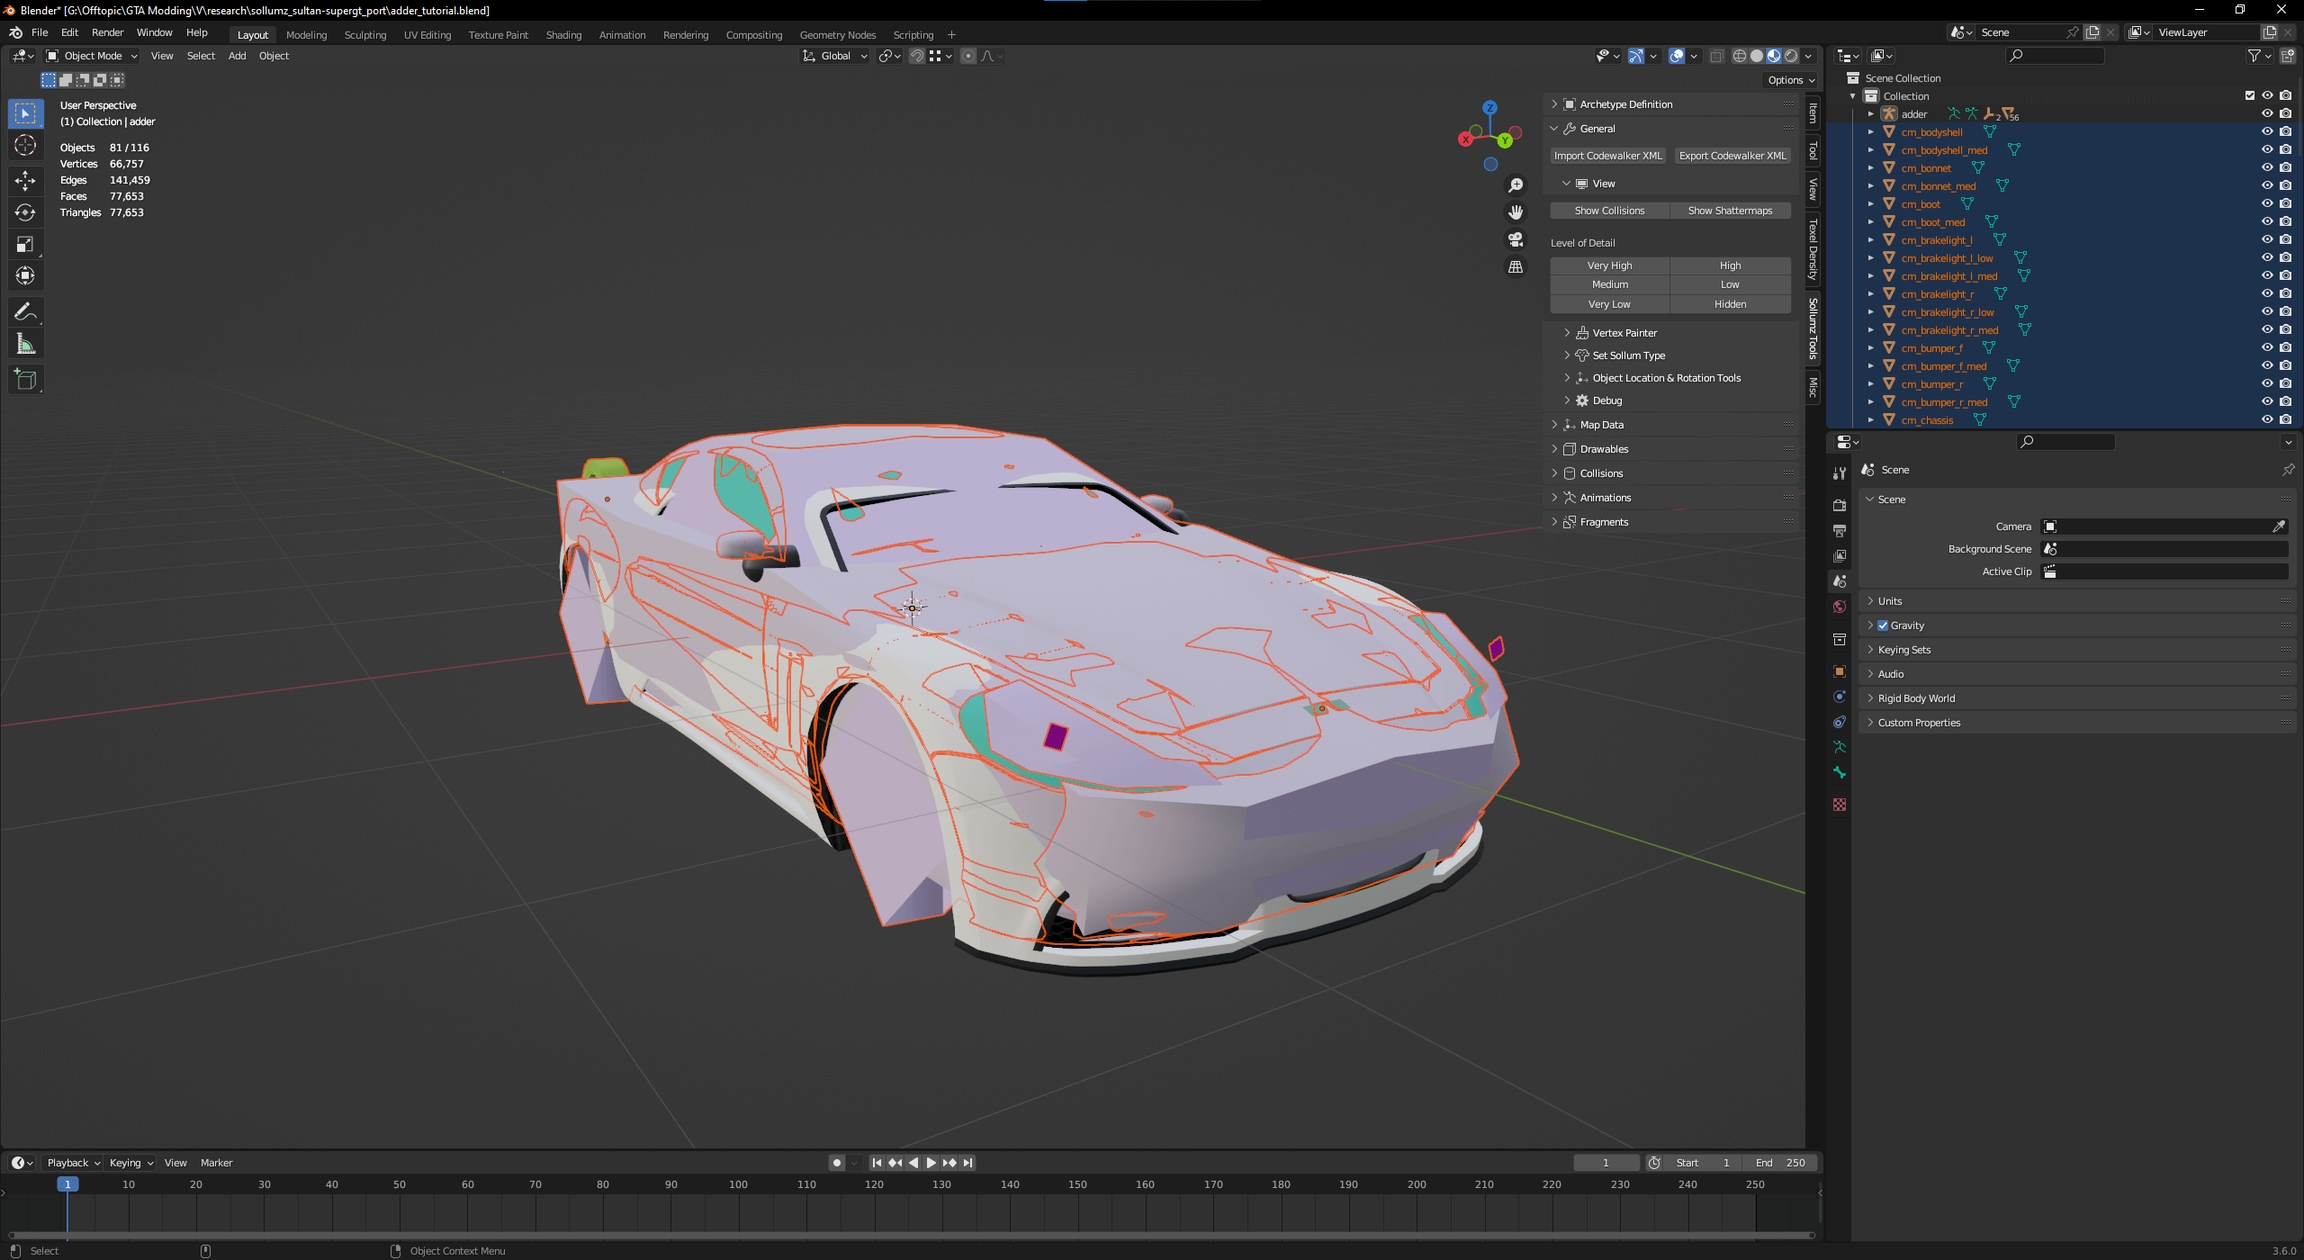
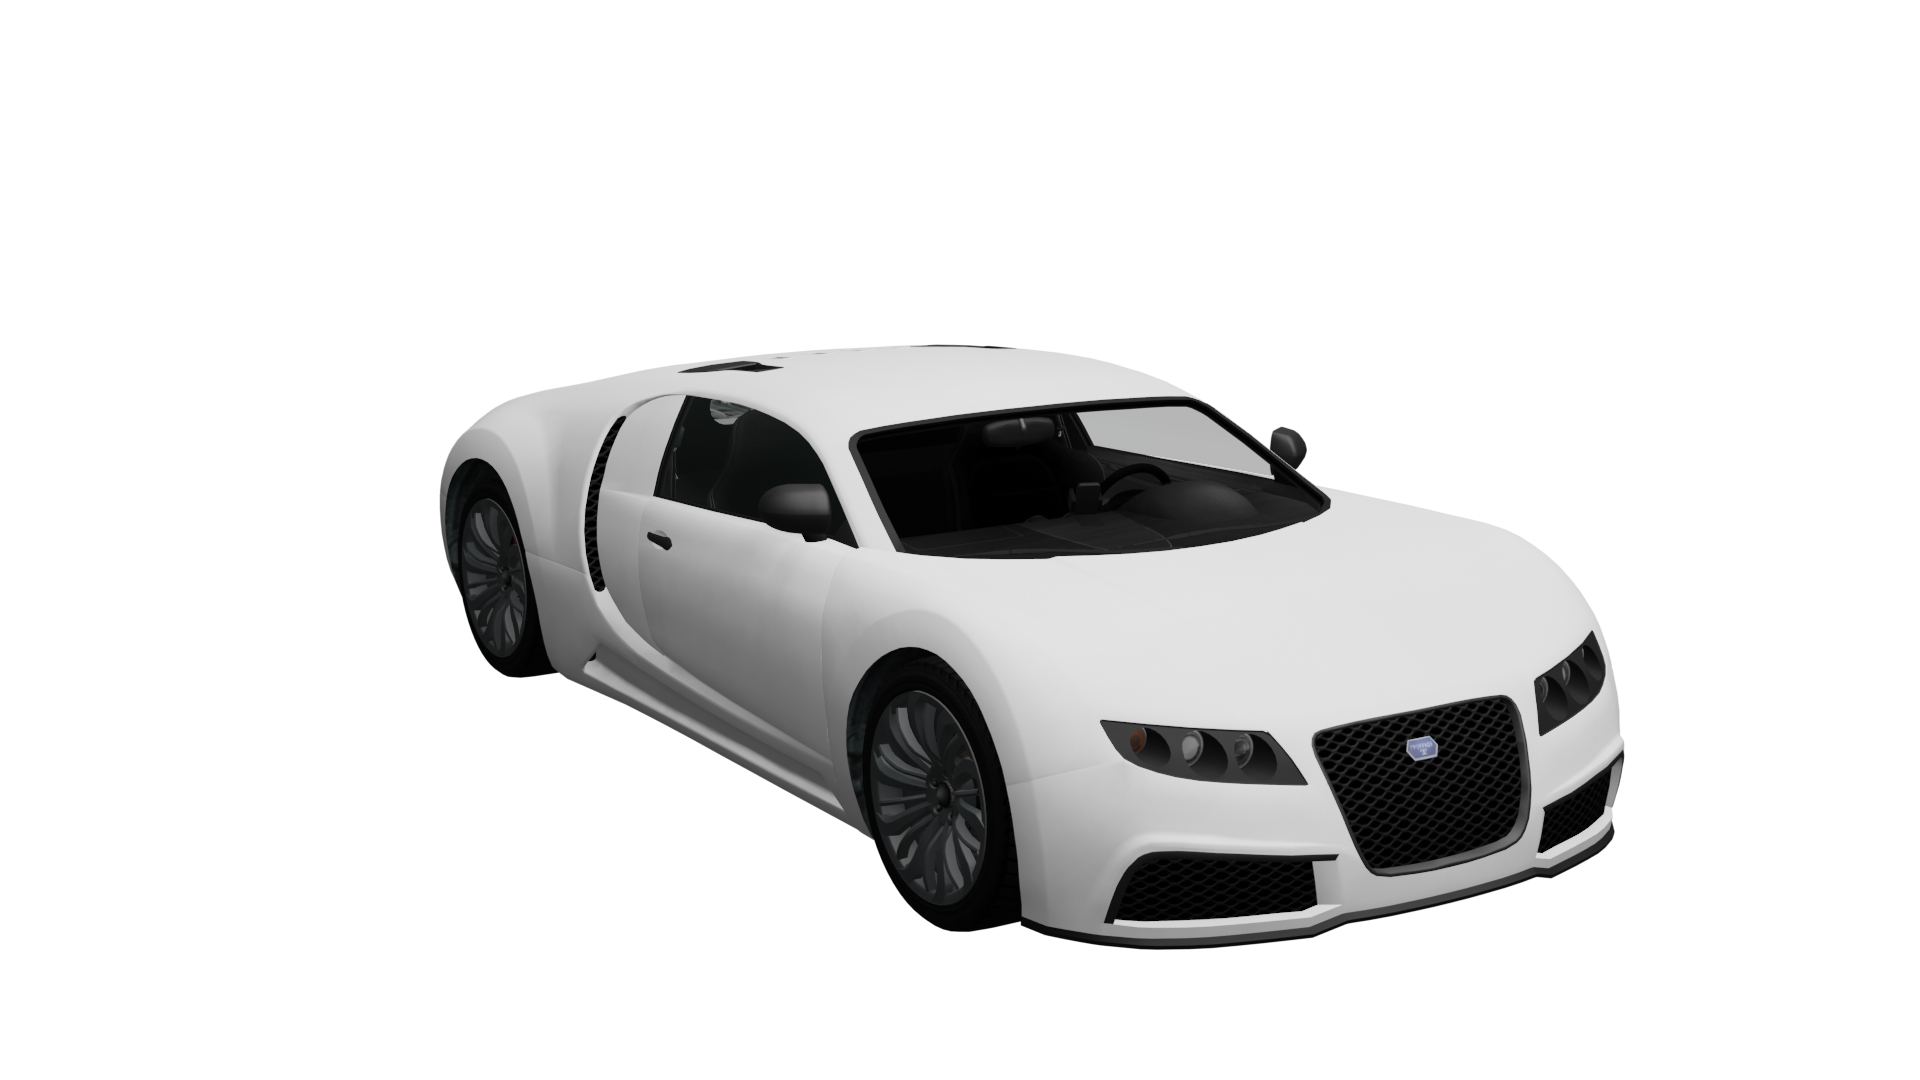
As the import has finished, you will see an imported mesh.
The subject of consideration for this tutorial is the bonnet part. To assign a material, go to Material tab, click on Browse material button and select the material from the list. In this case, I have assigned a vehicle paint one to the outer part of the bonnet.
The same is true for all the bonnet's materials.
All models rely on LOD meshes, which greatly reduces graphics demand of detailed models and improves overall performance.
if you have any other LOD meshes ready to be set up, copy their names to the proper LOD levels.
In order to render your mesh at any distance:
Go to Data tab.
Scroll to Sollumz LOD.
Copy the name from High LOD to Very High, Medium and Low.
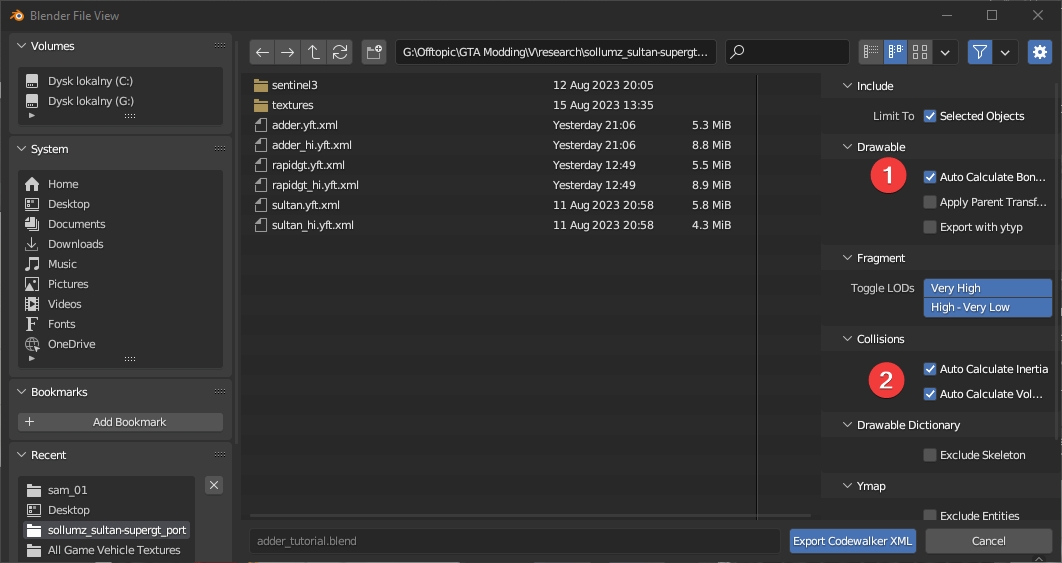
In the Export Codewalker XML > Fragment panel, you will find the two options, depending of your edits done prior in Blender.
First option - Auto Calculate Bonetags in Drawable is doing a bone number calculations. This option is needed to use when you have added a fresh new bone (i.e. a rear doors). The hardcoded bone tag value tells the game that specific bone has to be treated as rear doors. If you have not added any bones, do not select this.
Second option - Auto Calculate Inertia and Auto Calculate Volume has to be ticked if you have changed the shape of any collision mesh. Using this option provides a correct calculation for a physics engine. If you have not changed any collision shapes, do not select this.

